BUCHLA 100 CABINET CONSTRUCTION

Buchla 100 cabinets and boats


I decided to build the early Buchla style cabinets and boats made from black walnut. The wood I used was 1" thick and a tad over 8" wide for the cabinets. I didn't miter the back and side joints of the cabinets like the pictures I've seen of 1960's Buchlas, as I felt the joints wouldn't be as strong, and more prone to damage on the corners.


(click on the pictures for a larger view)

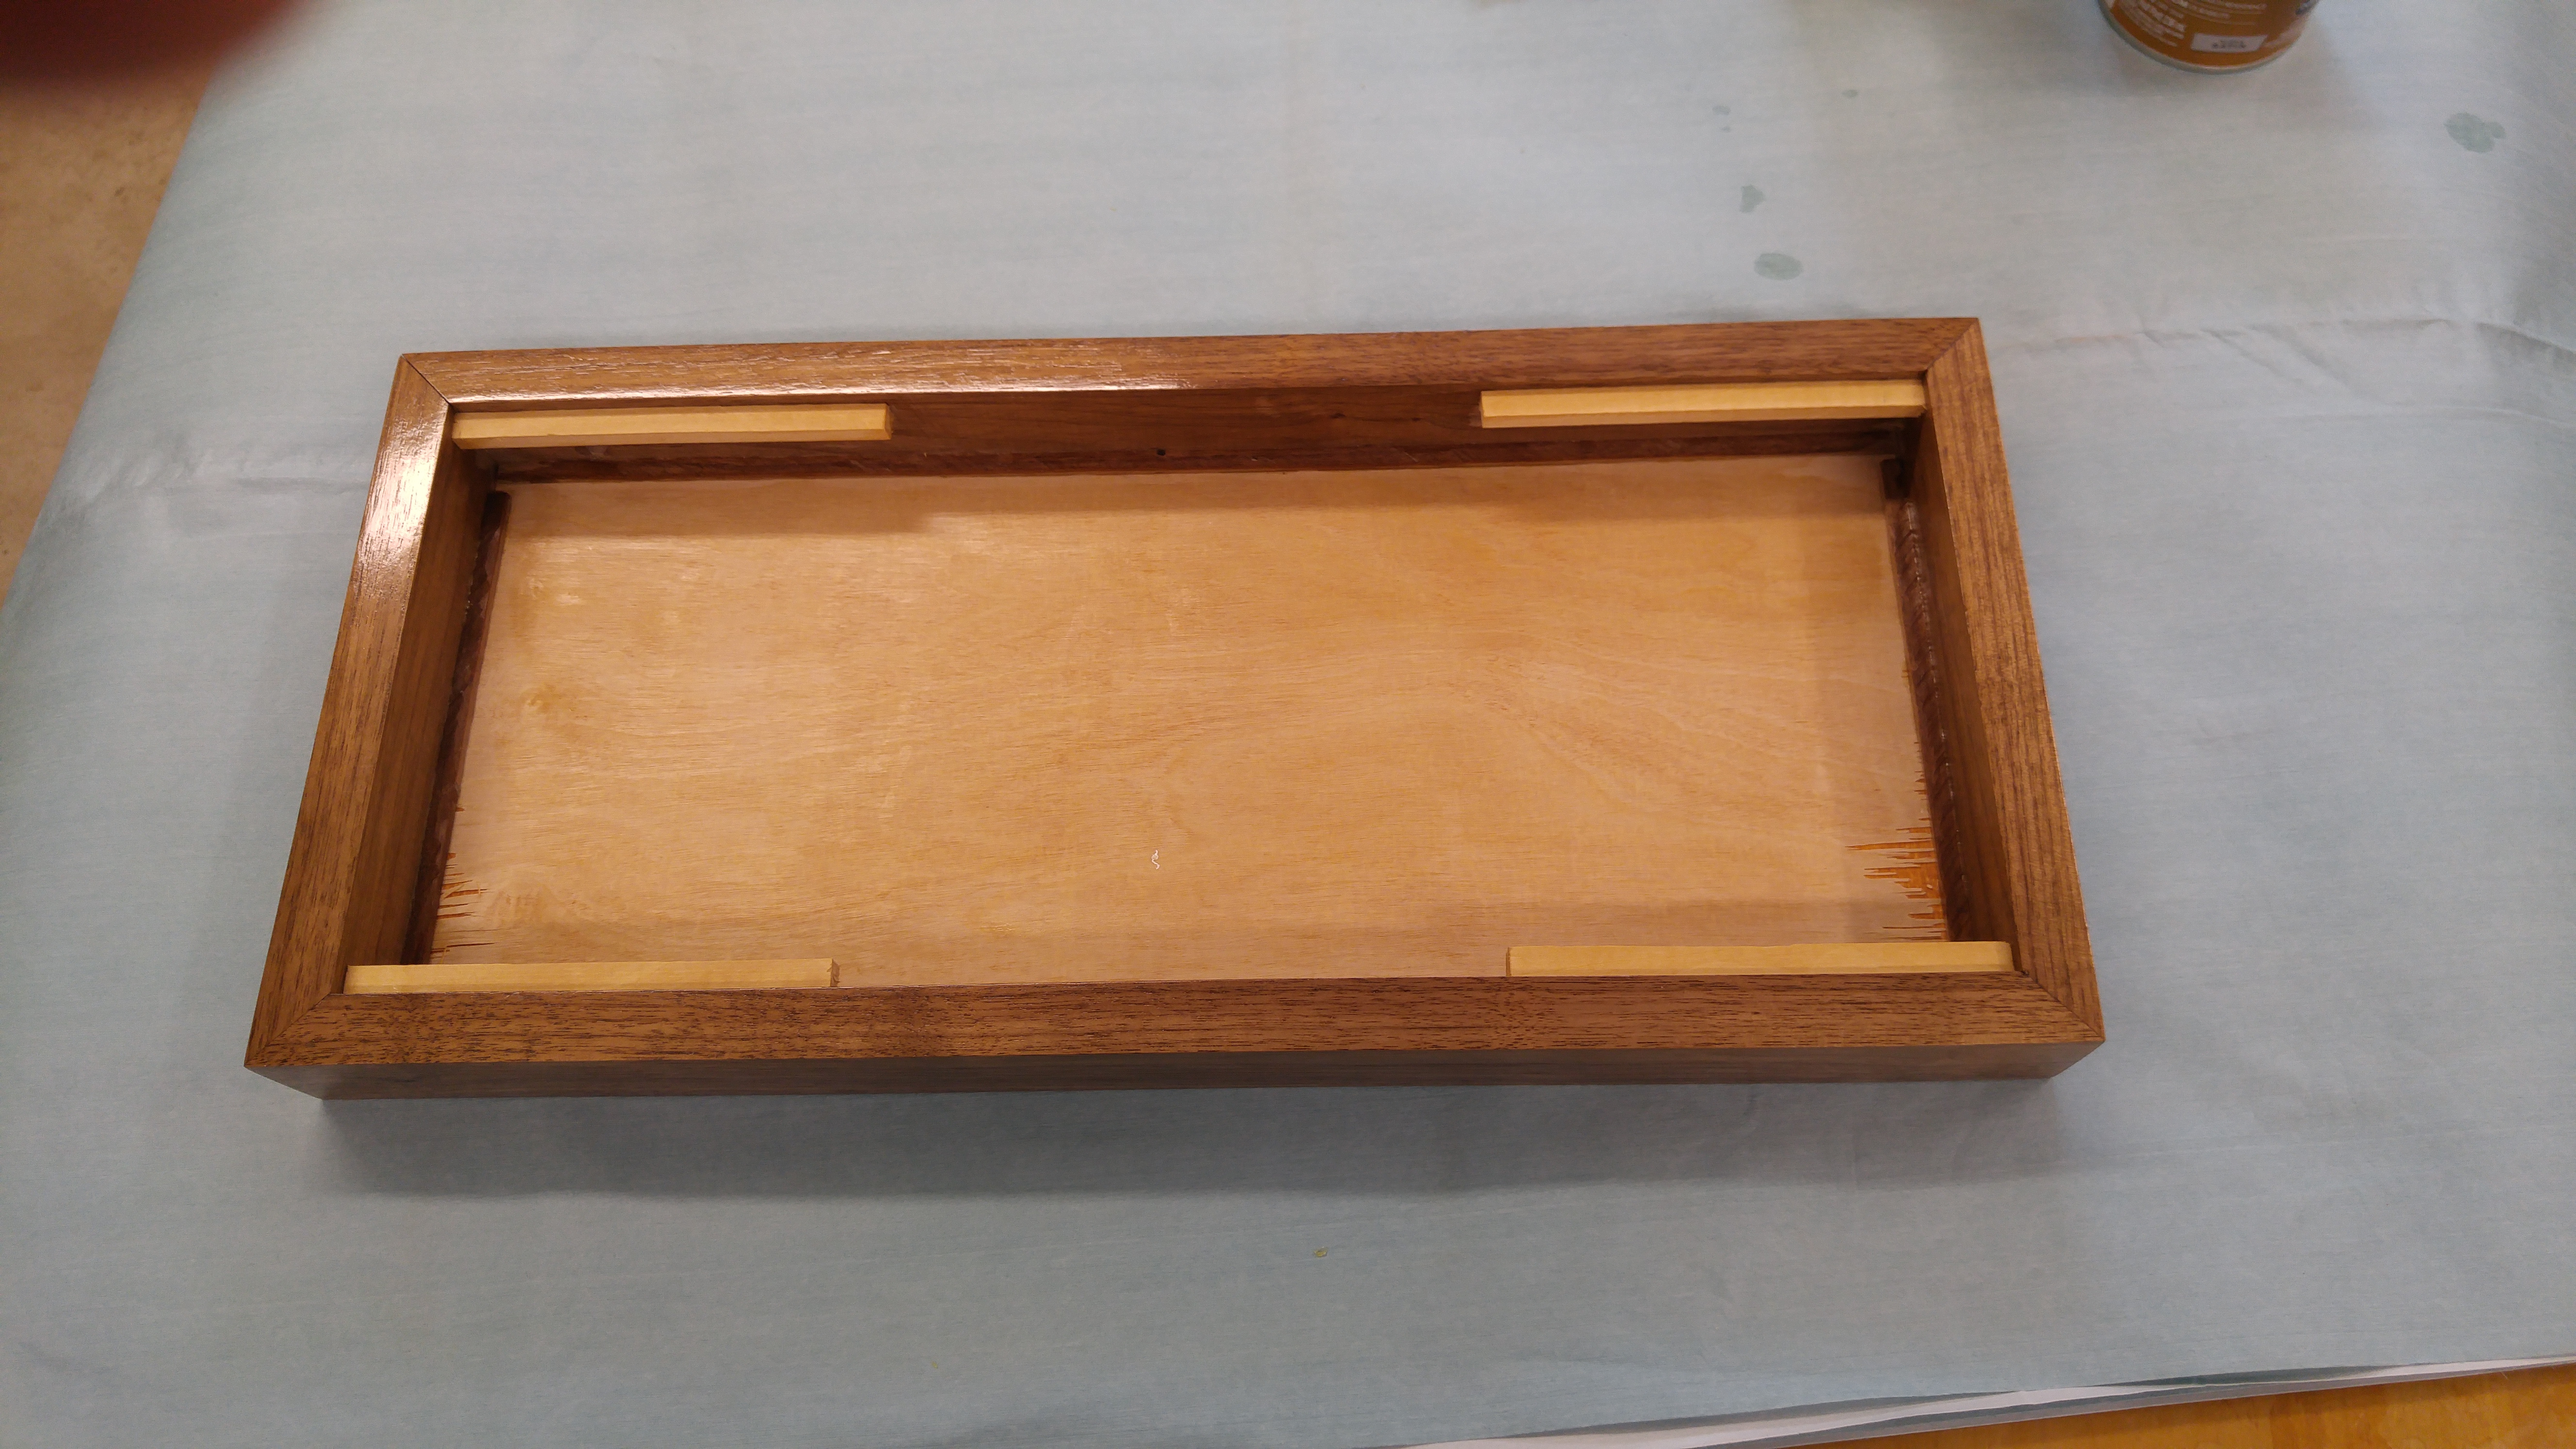
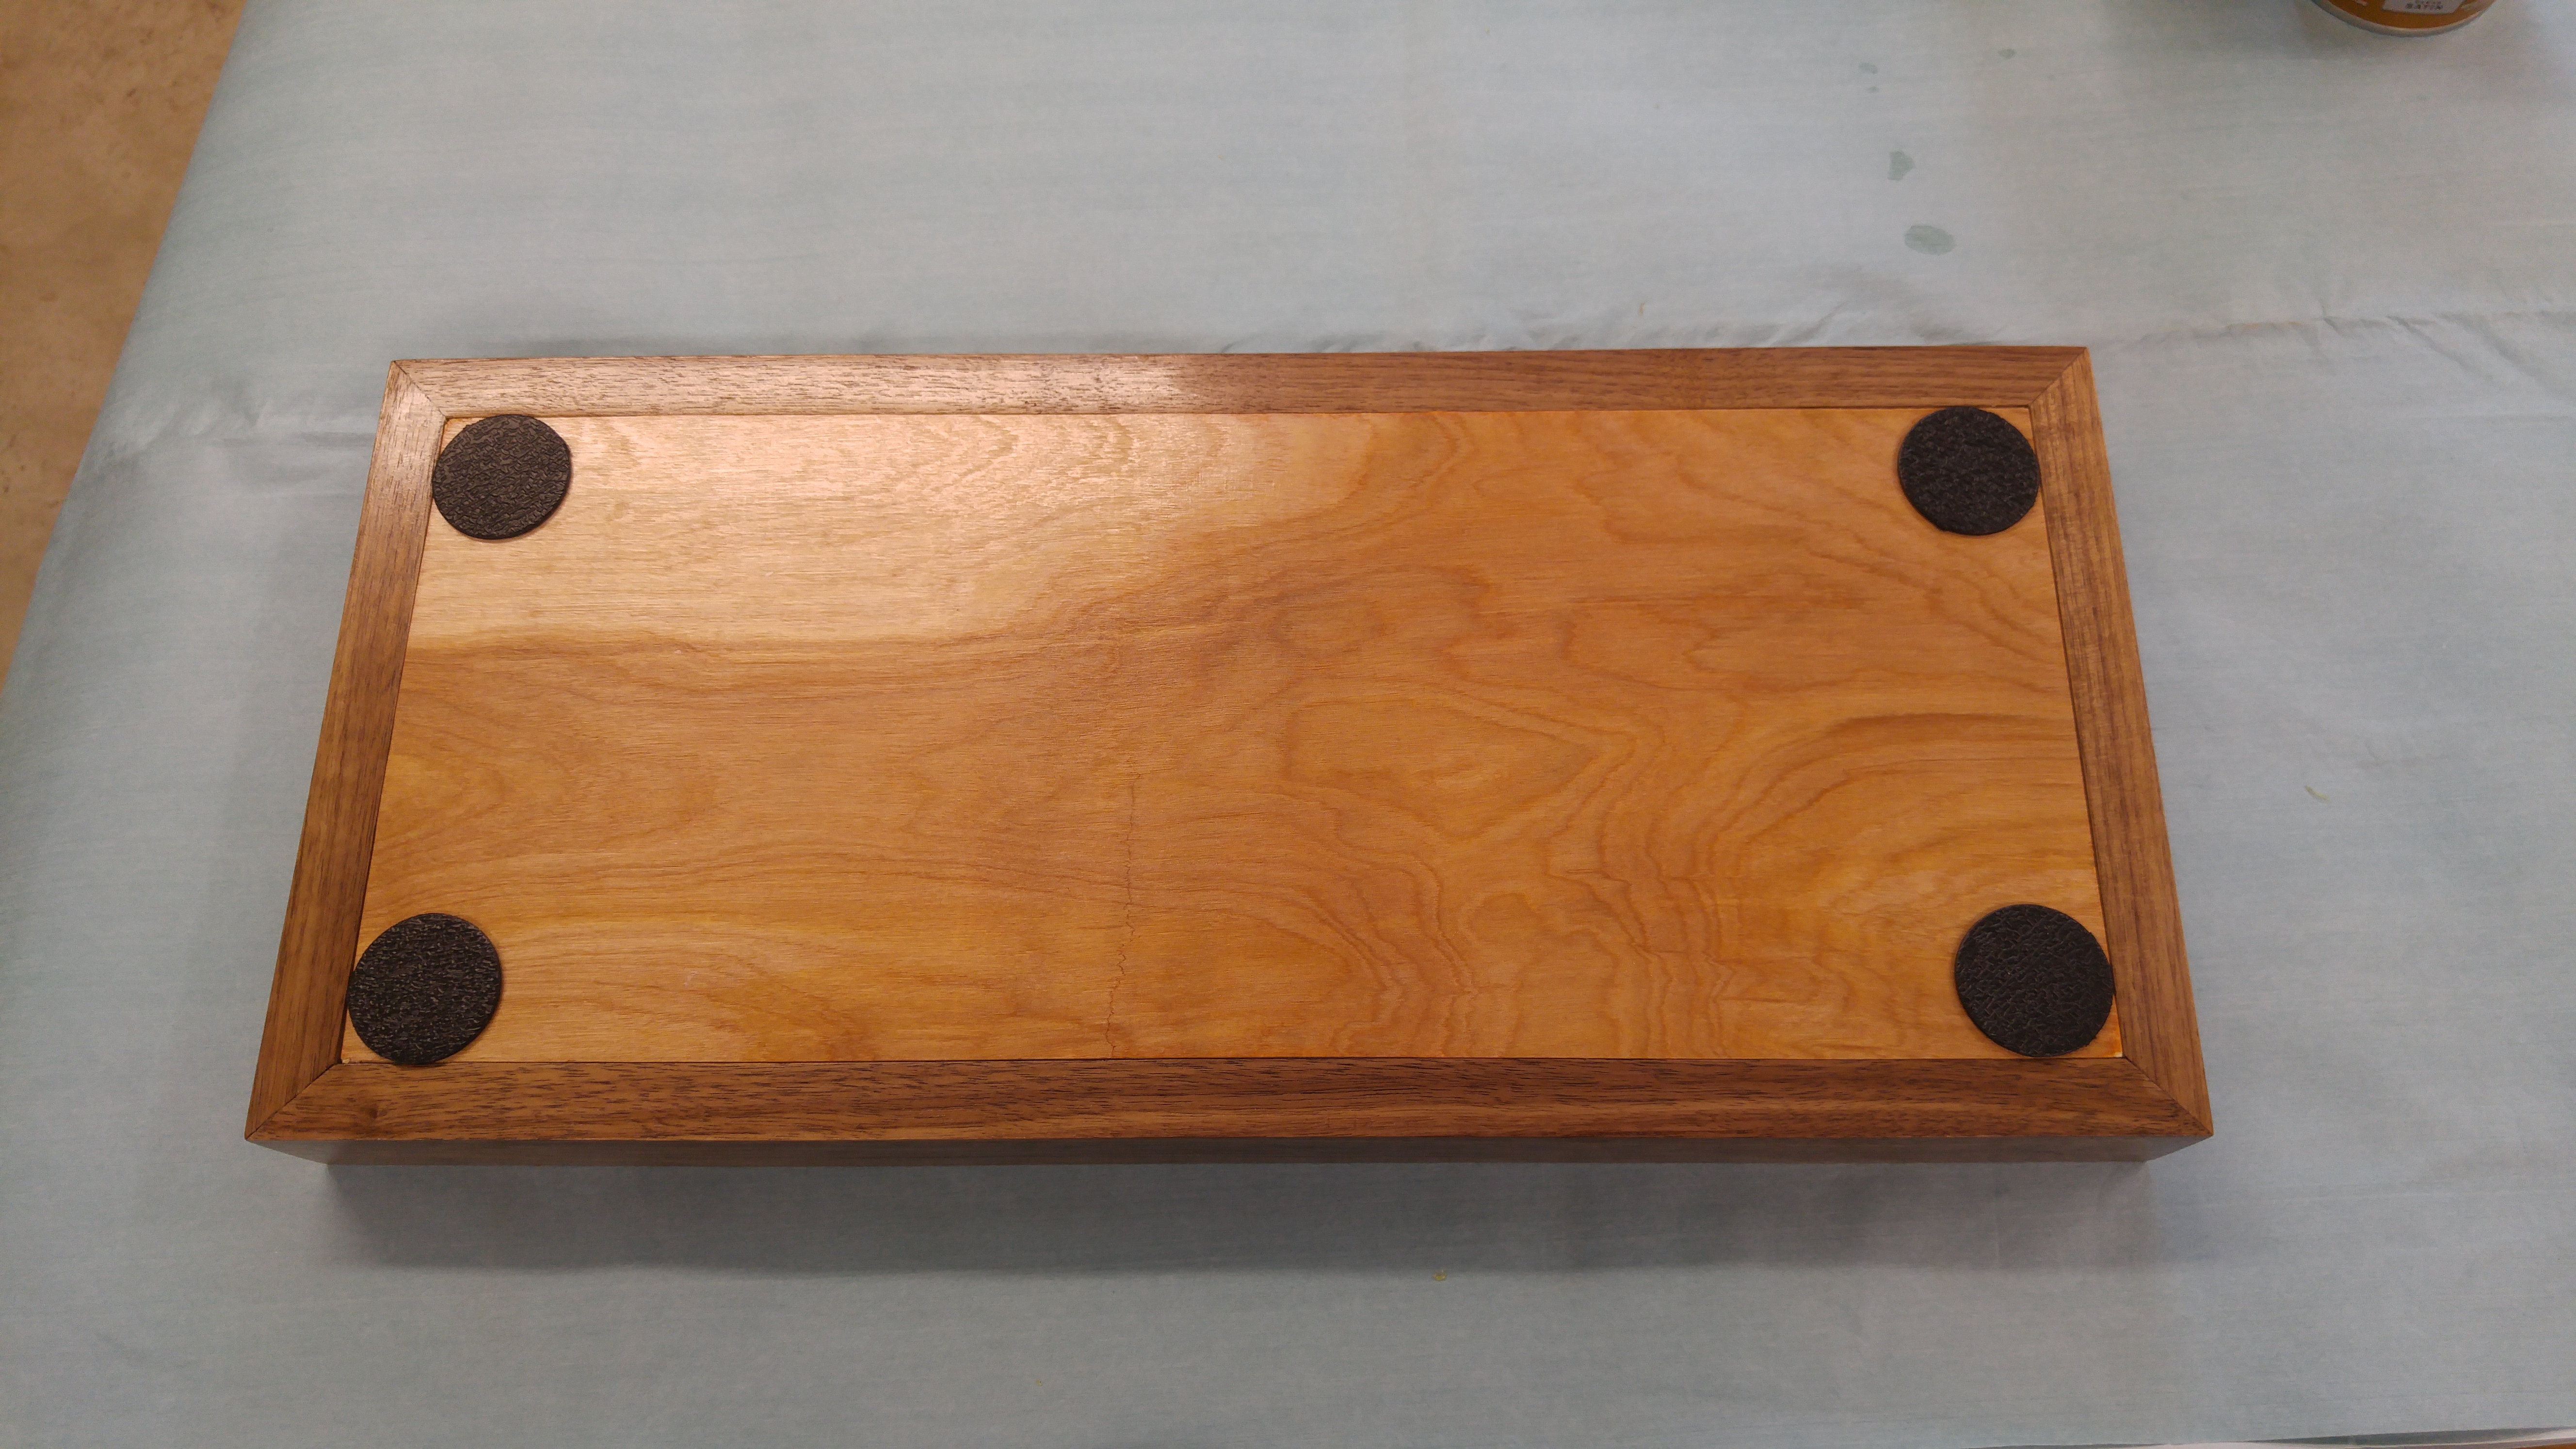
I did miter the joints on the boats, though. I selected a 10 foot 1" x 4" black walnut plank for the boats, which the kind folks at Exotic Hardwoods in Annapolis ripped exactly in half for me, so the boats are about 1.75" high. I had an old piece of 5mm plywood that I used for the bottom. The thin foam-rubber pads seend here are also on the bottoms of the cabinets. They are just thick enough that none of the bare wood touches when I stack the cabinets.
There is a hole in the back of the boat, 2" from the left end, for the power cable. I made nice long covered cables with DB15 connectors on the end, to mate with a DB15 socket in back of the cabinets. I also put DB15 connectors in the front of my BEMI 24 space cabinets.

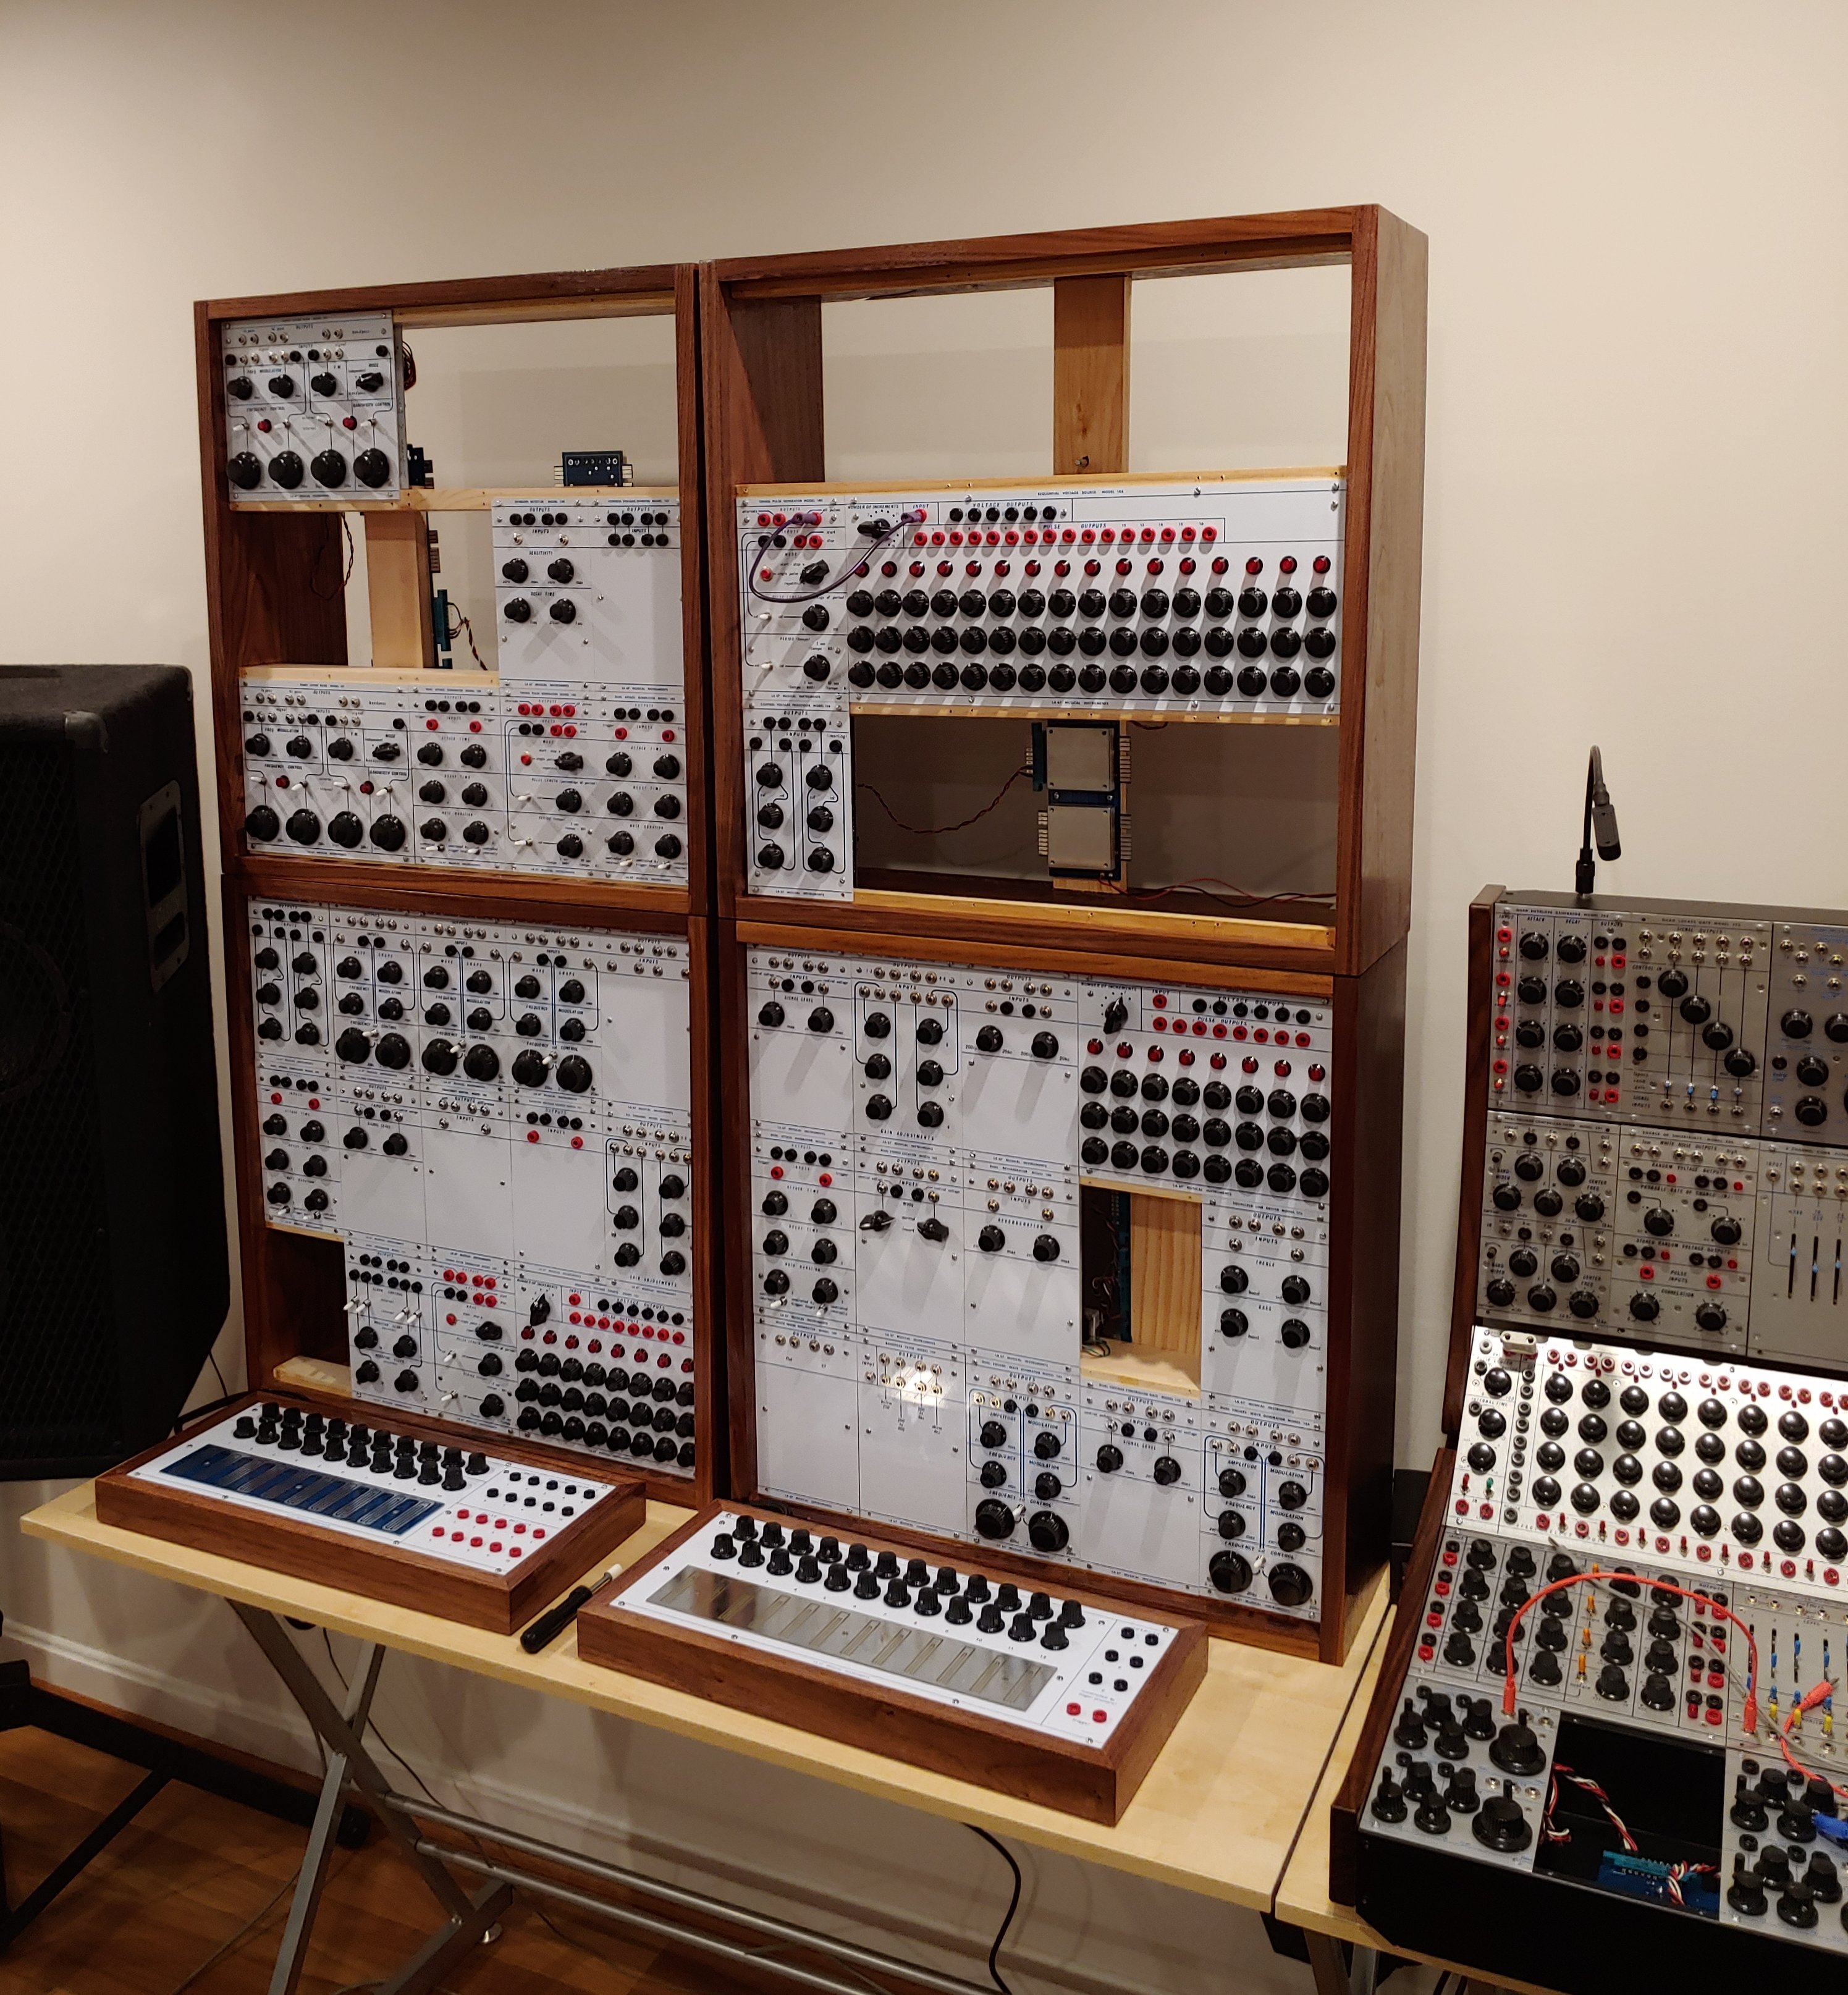
The black foot pads you see are Everbilt 1-1/2in Anti-Skid Pads, which I bought at Home Depot. I used these on the cabinets as well. They are self-stick, and thin enough that you don't see a huge gap underneath, but thick enough to protect the wood. See the picture of the stacked cabinets at the bottom of this page.

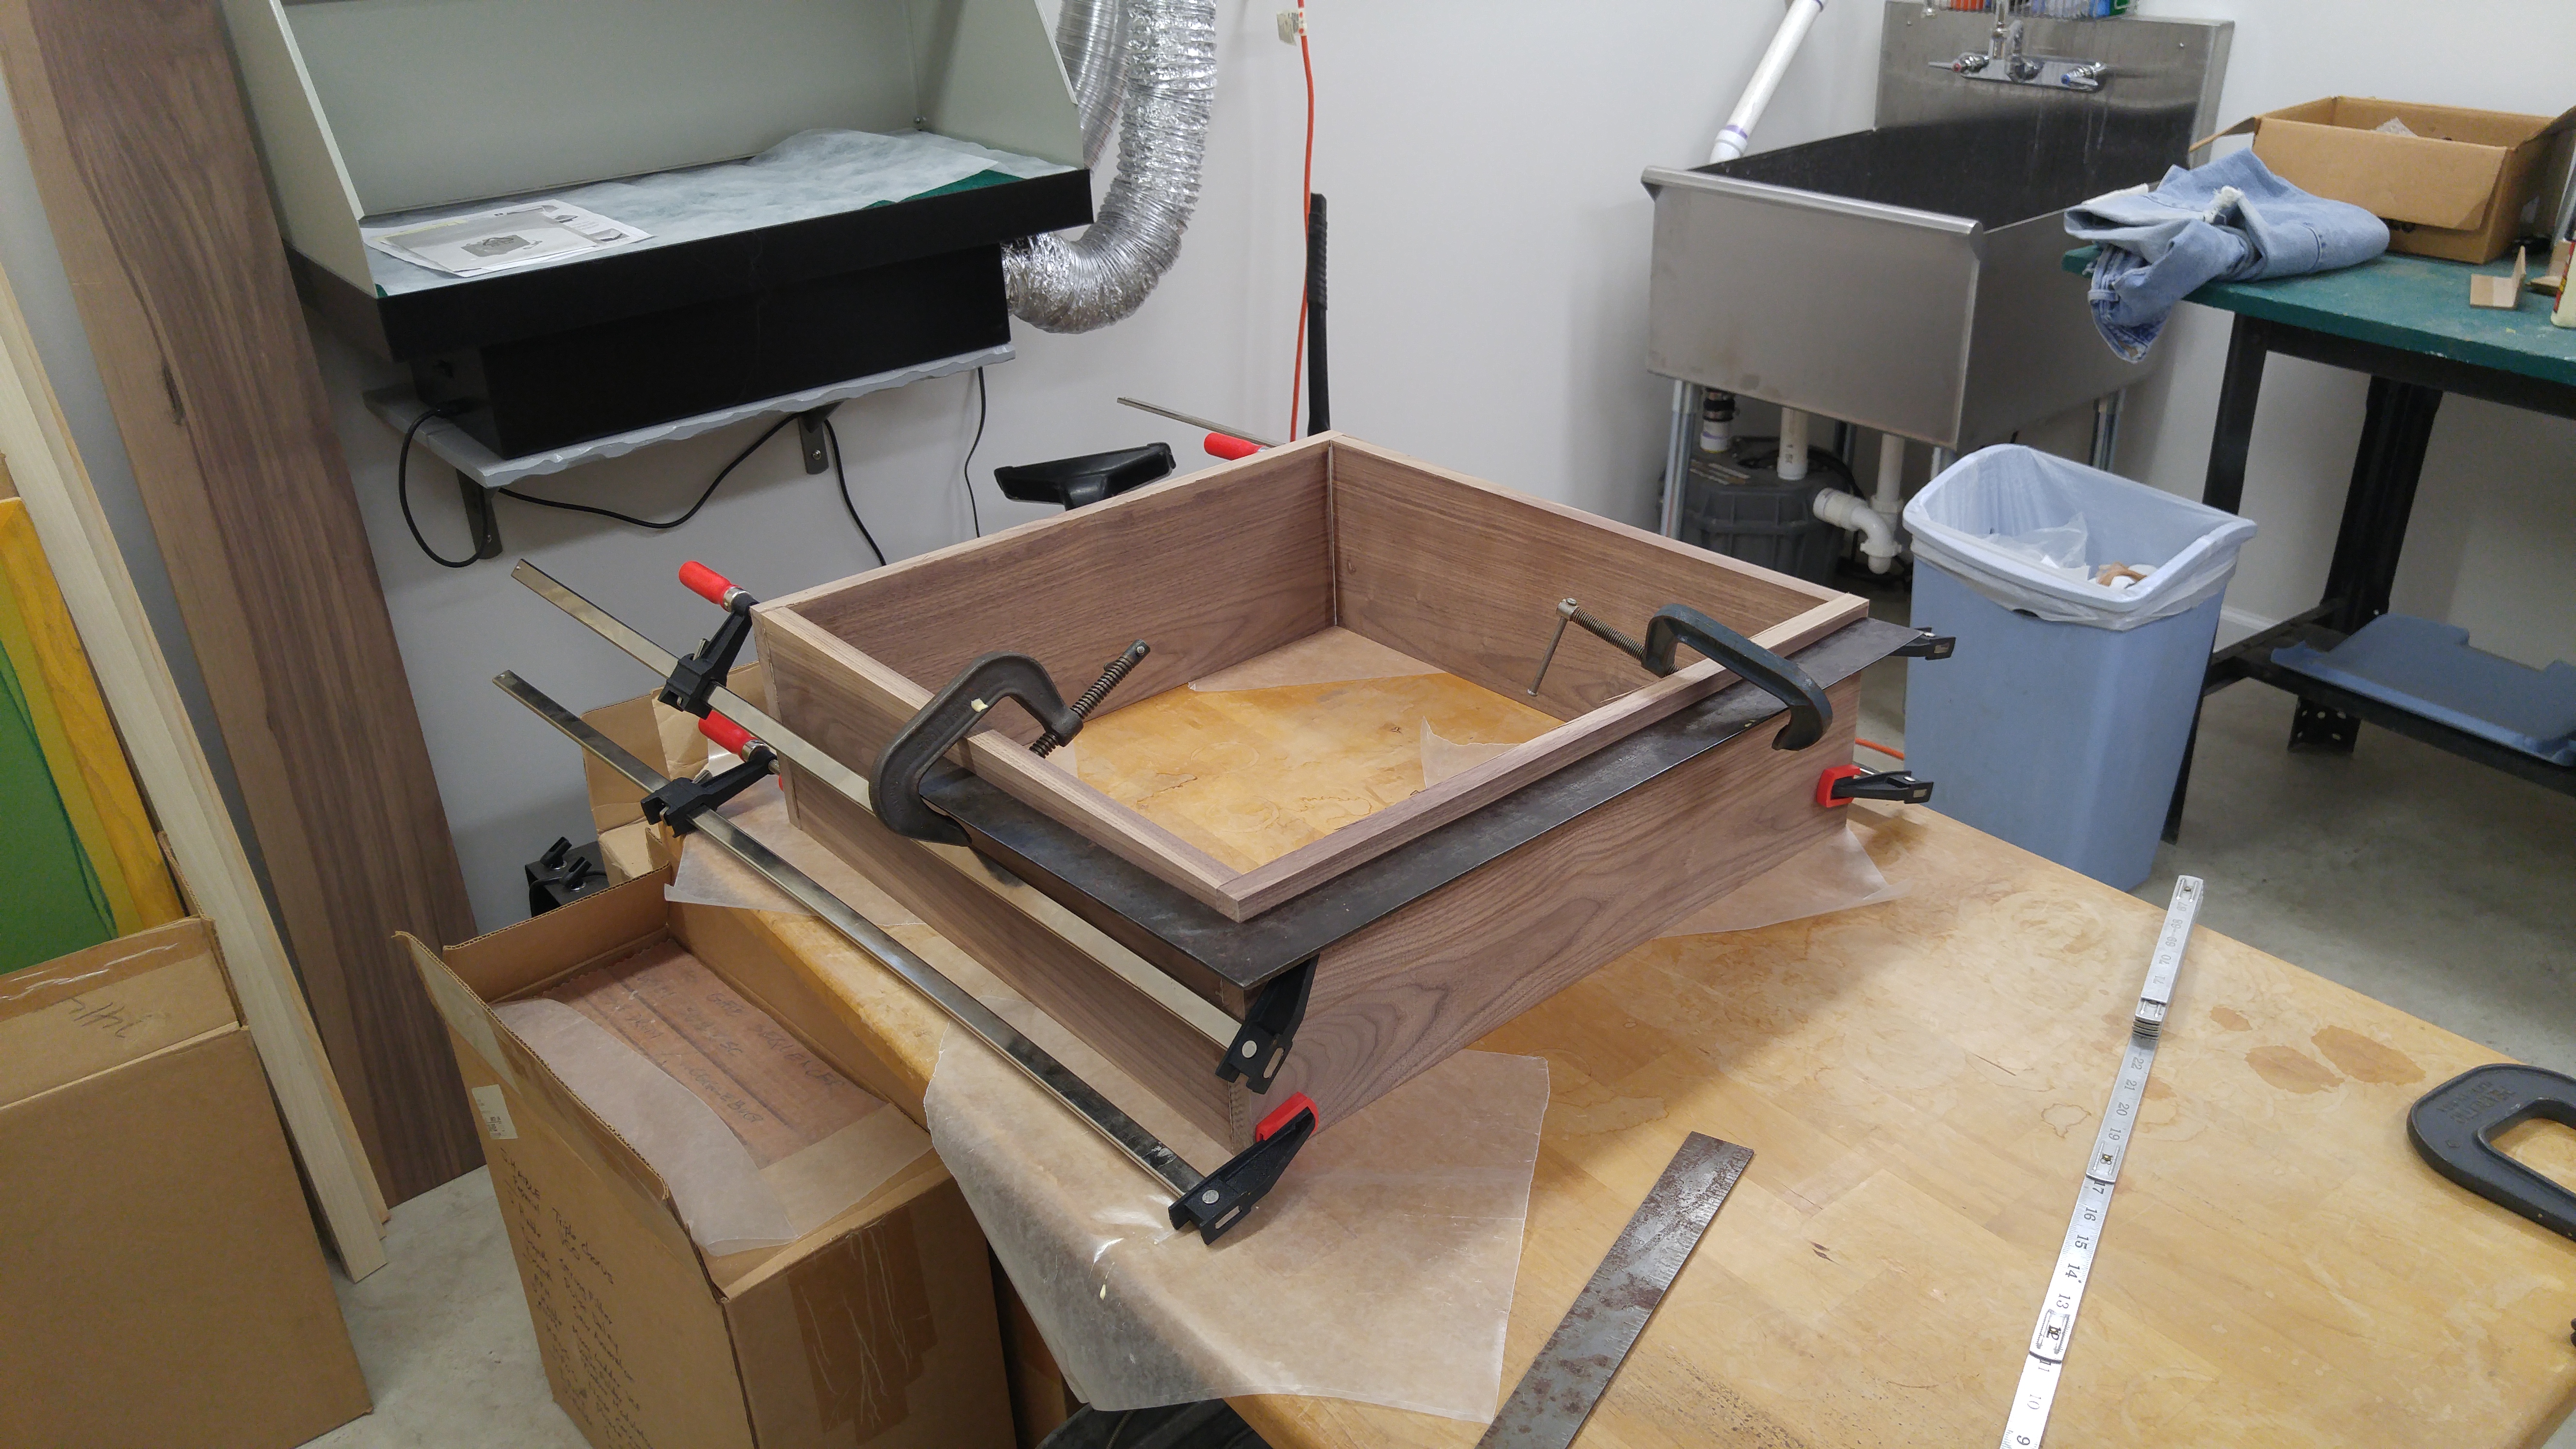
Initial glueing and clamping a cabinet. The black carpenters square is used to ensure that the whole thing remains square. It's a nineteenth century square hand made by a blacksmith that was used by my grandfather back in Illinois.

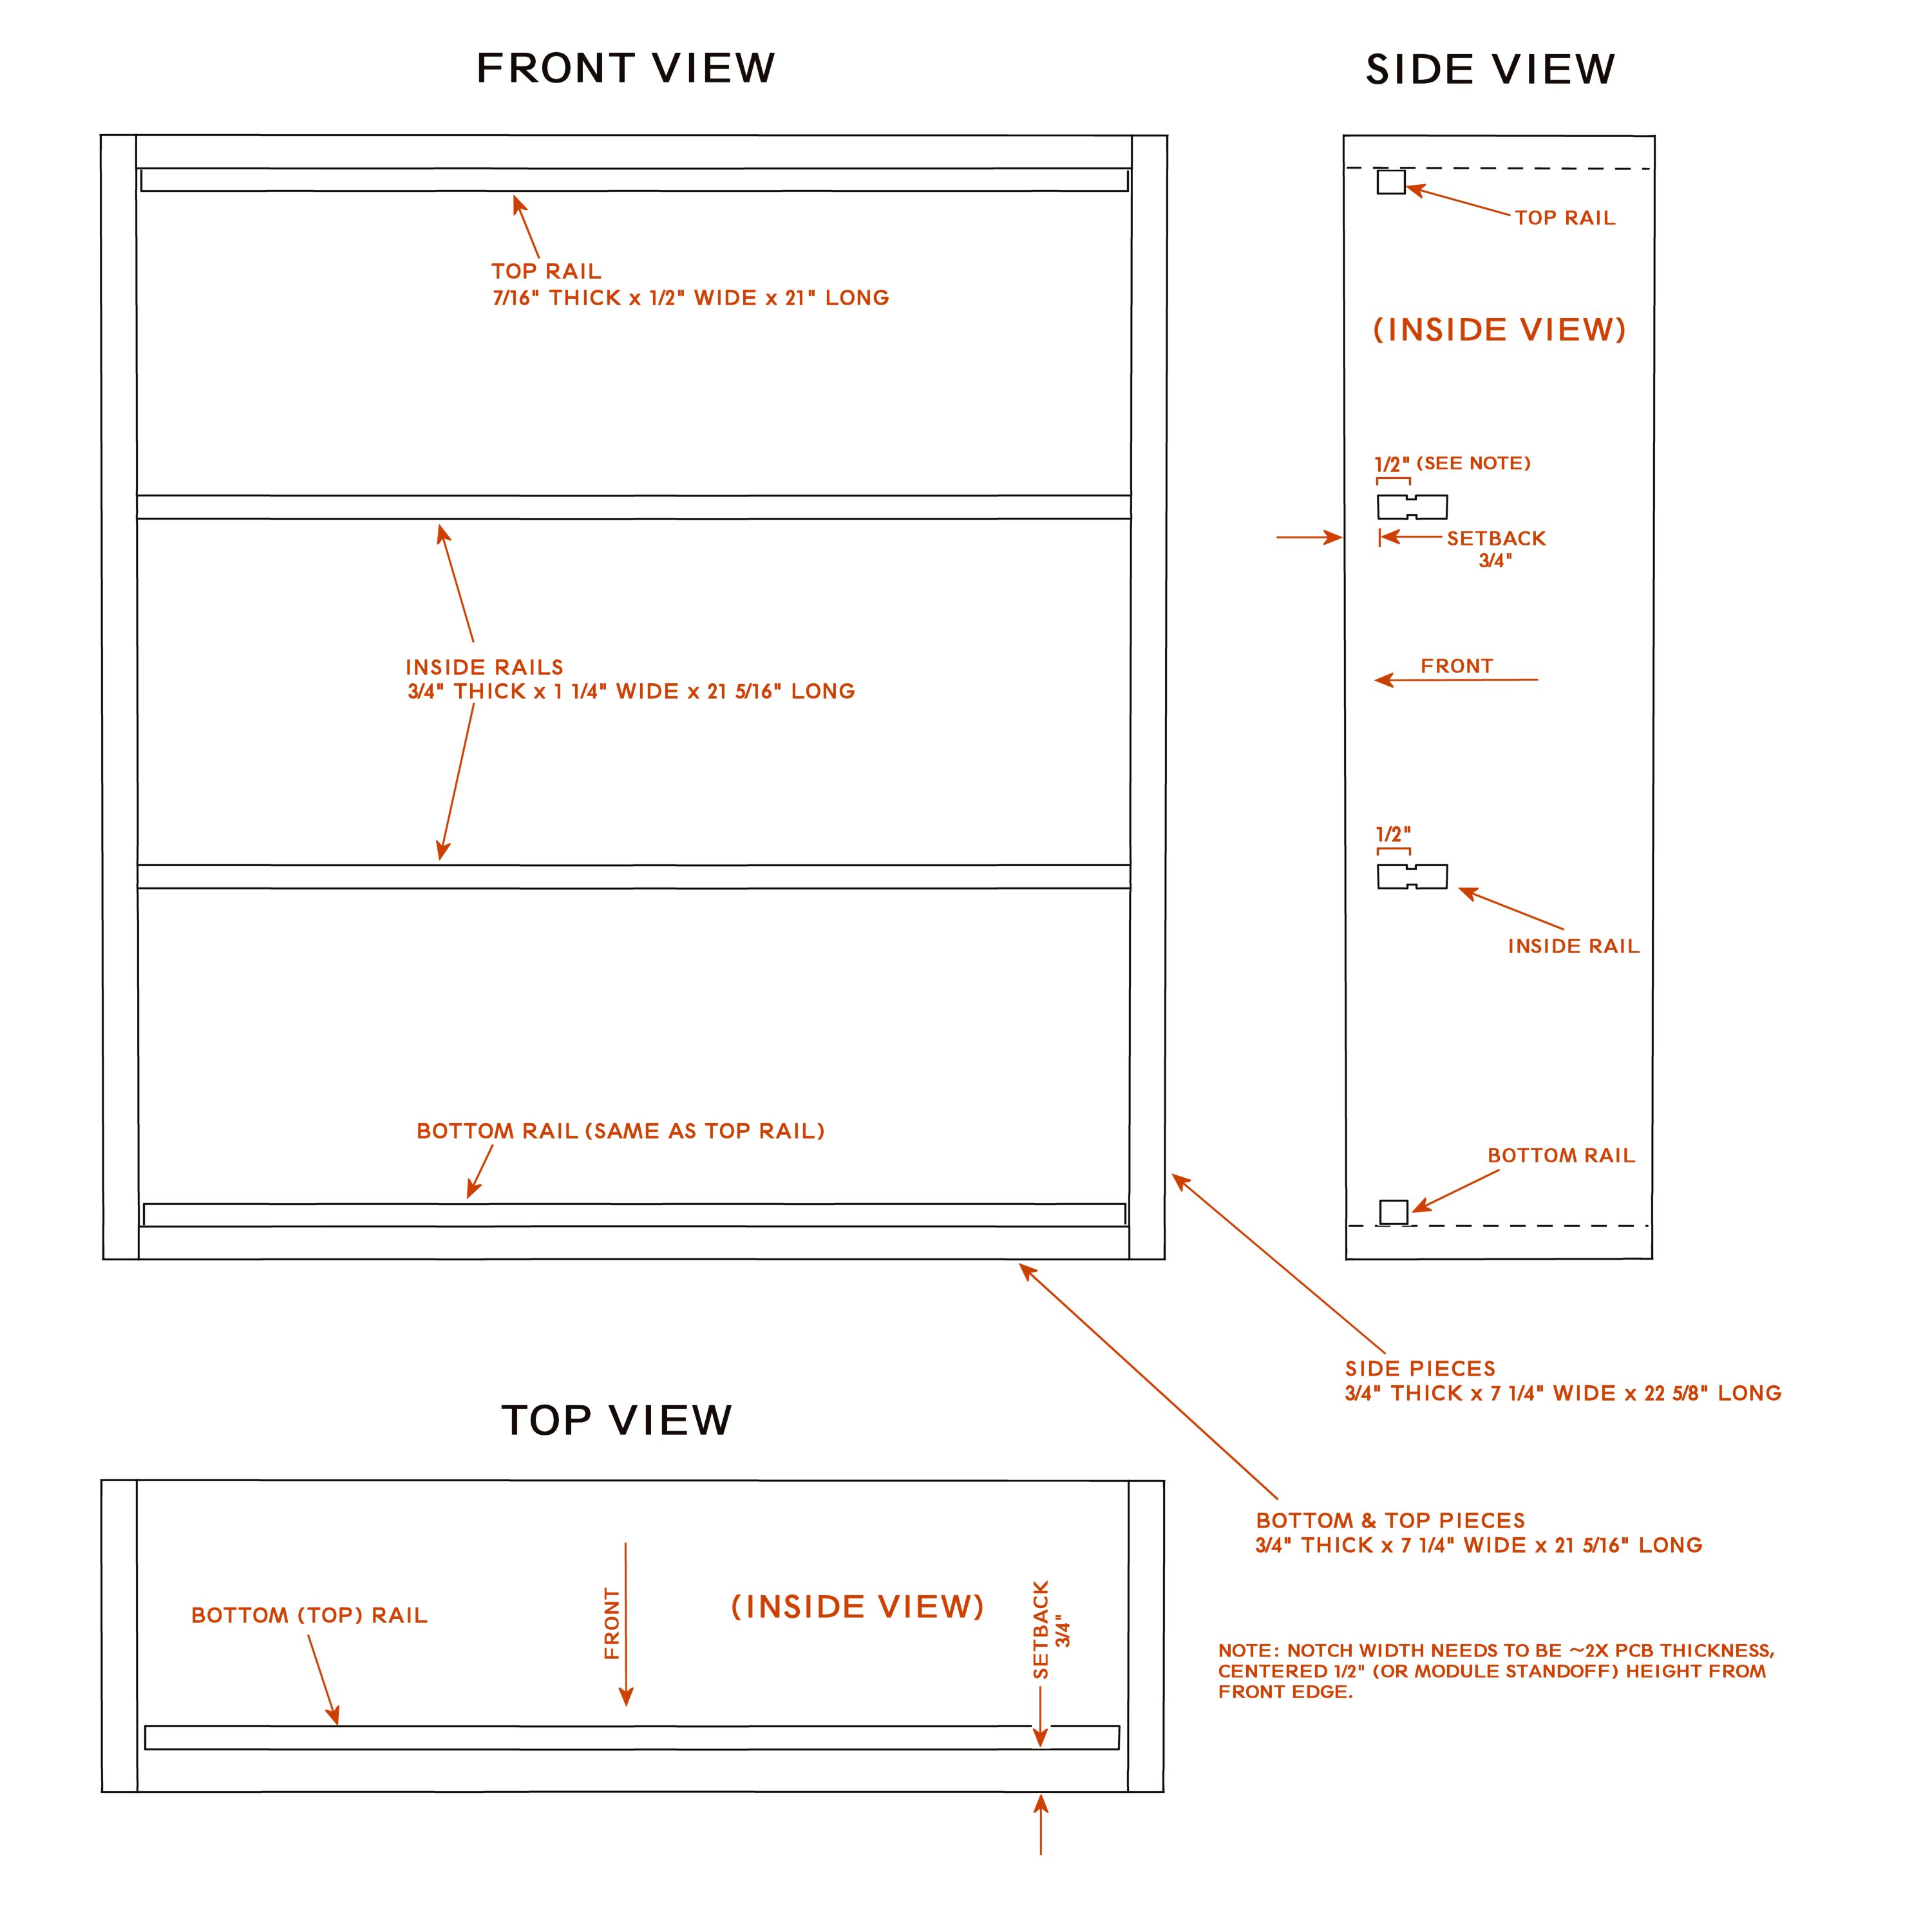
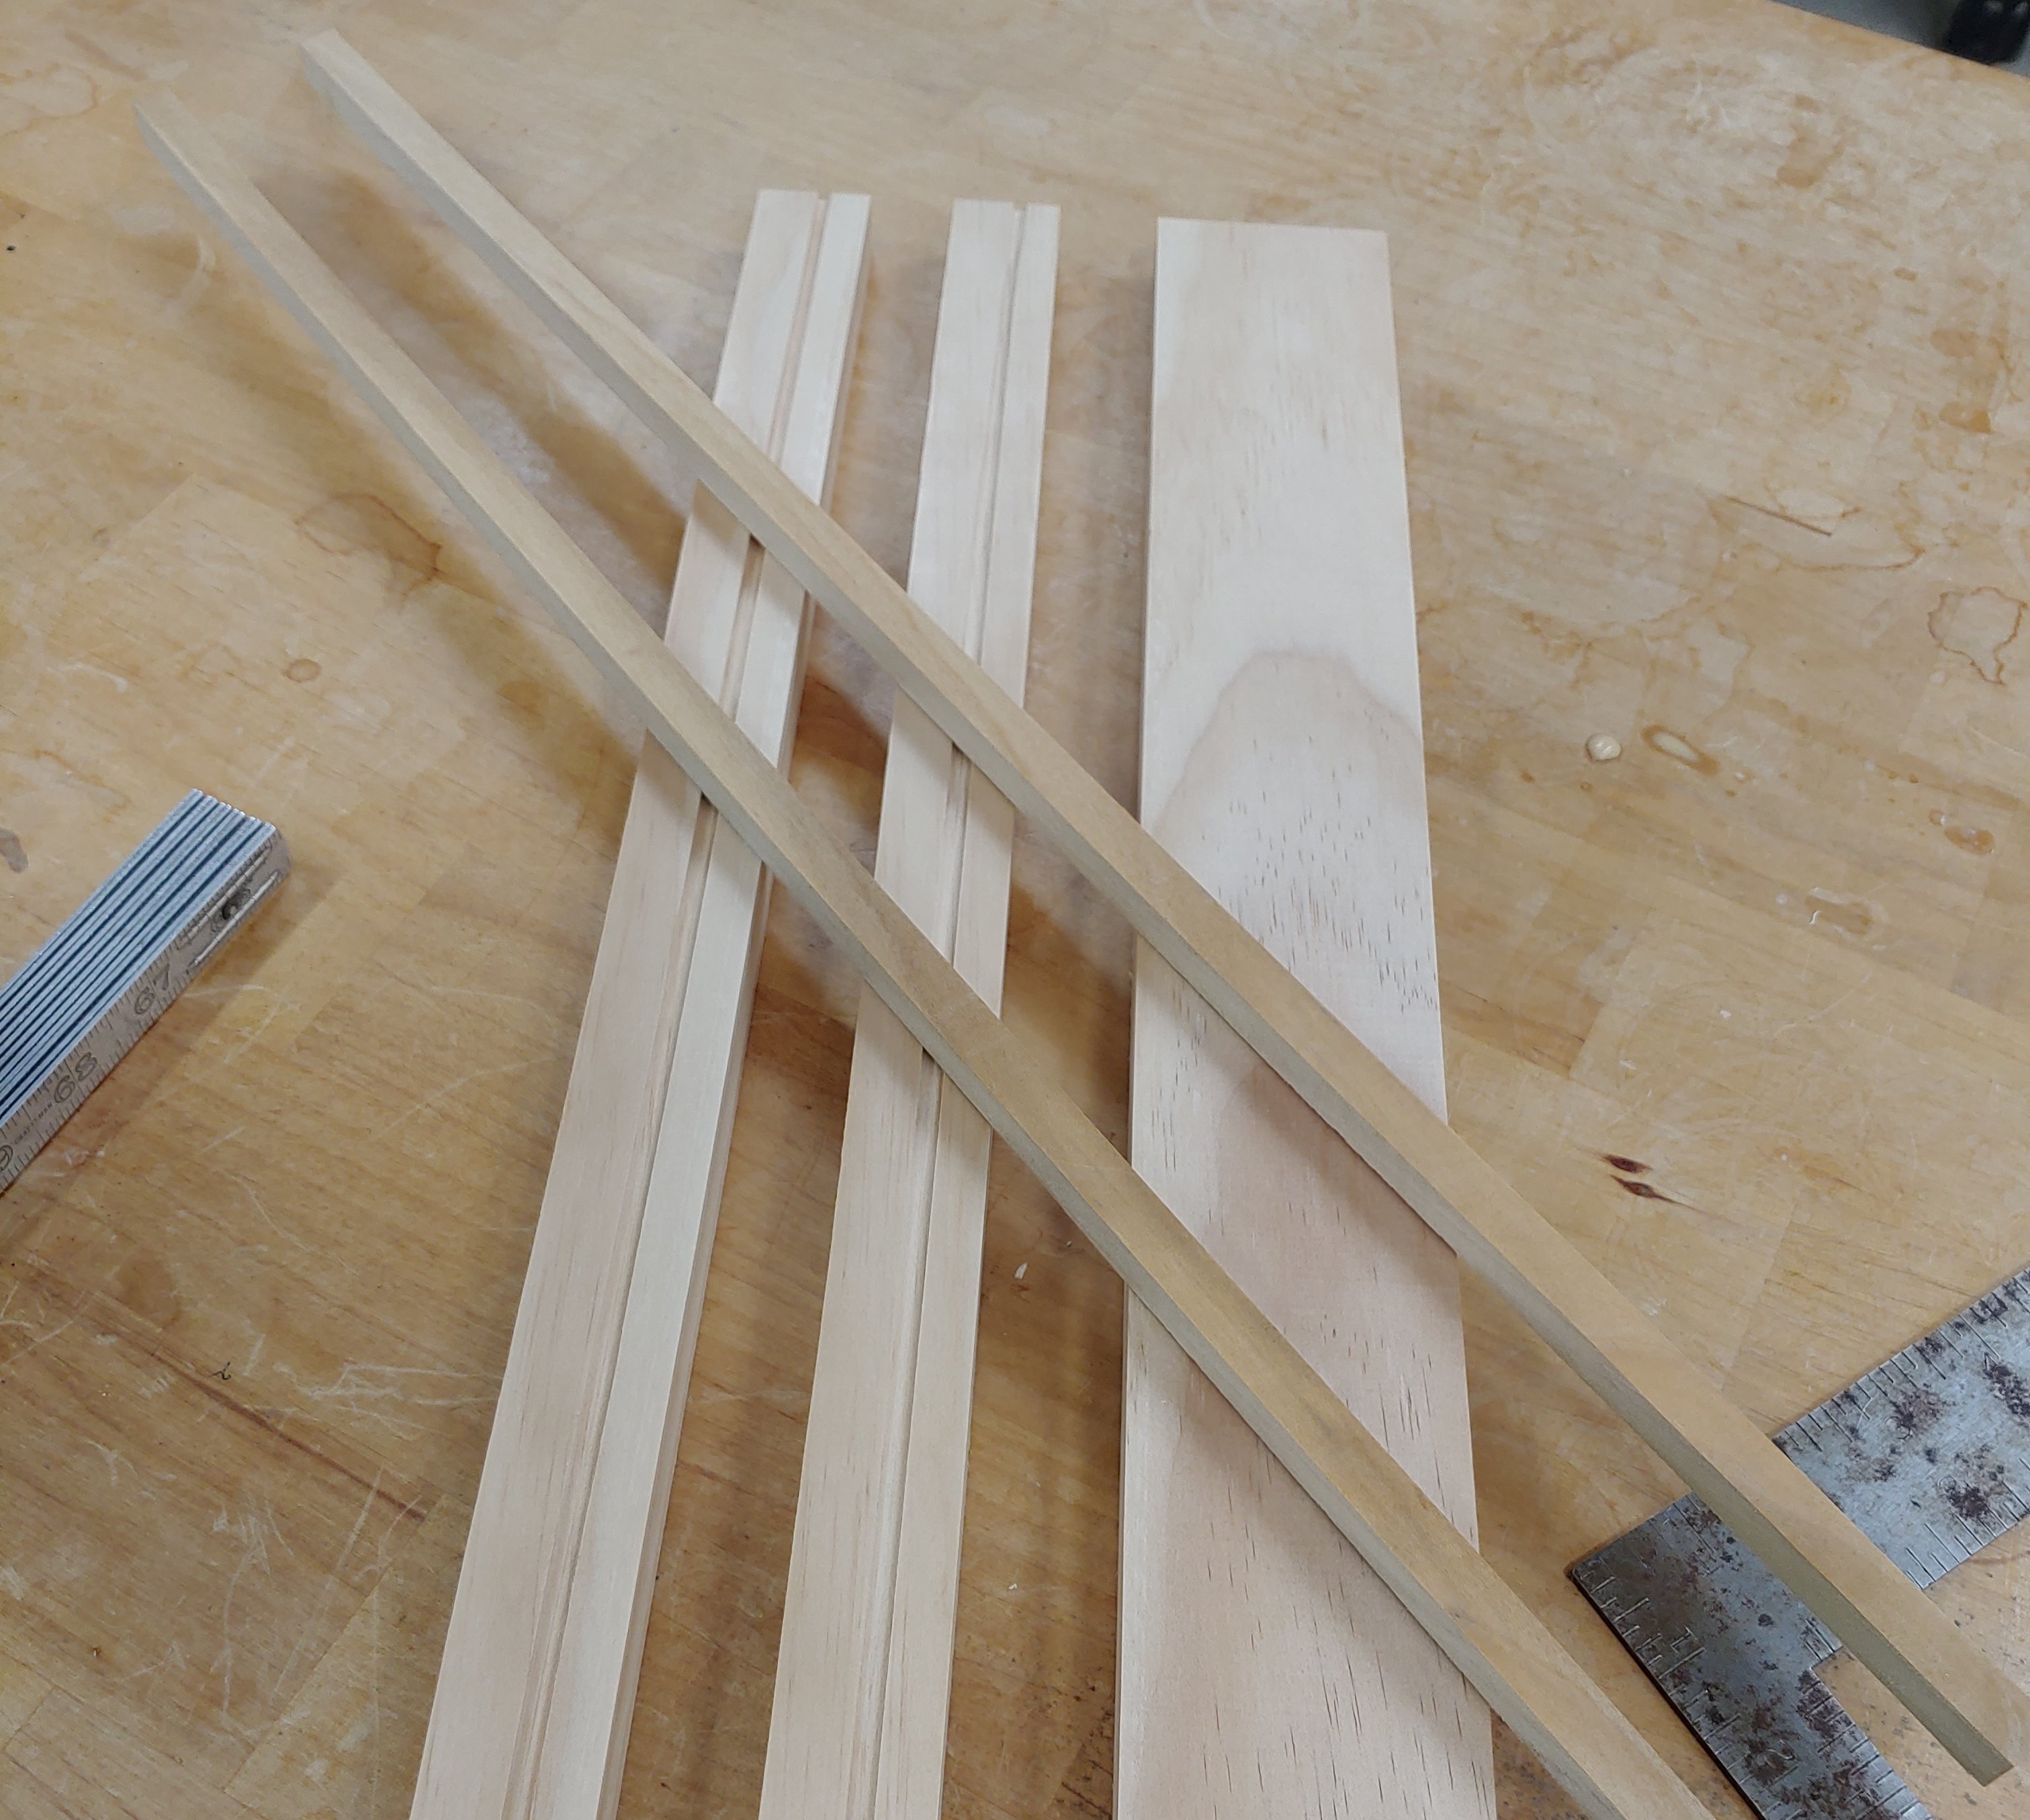
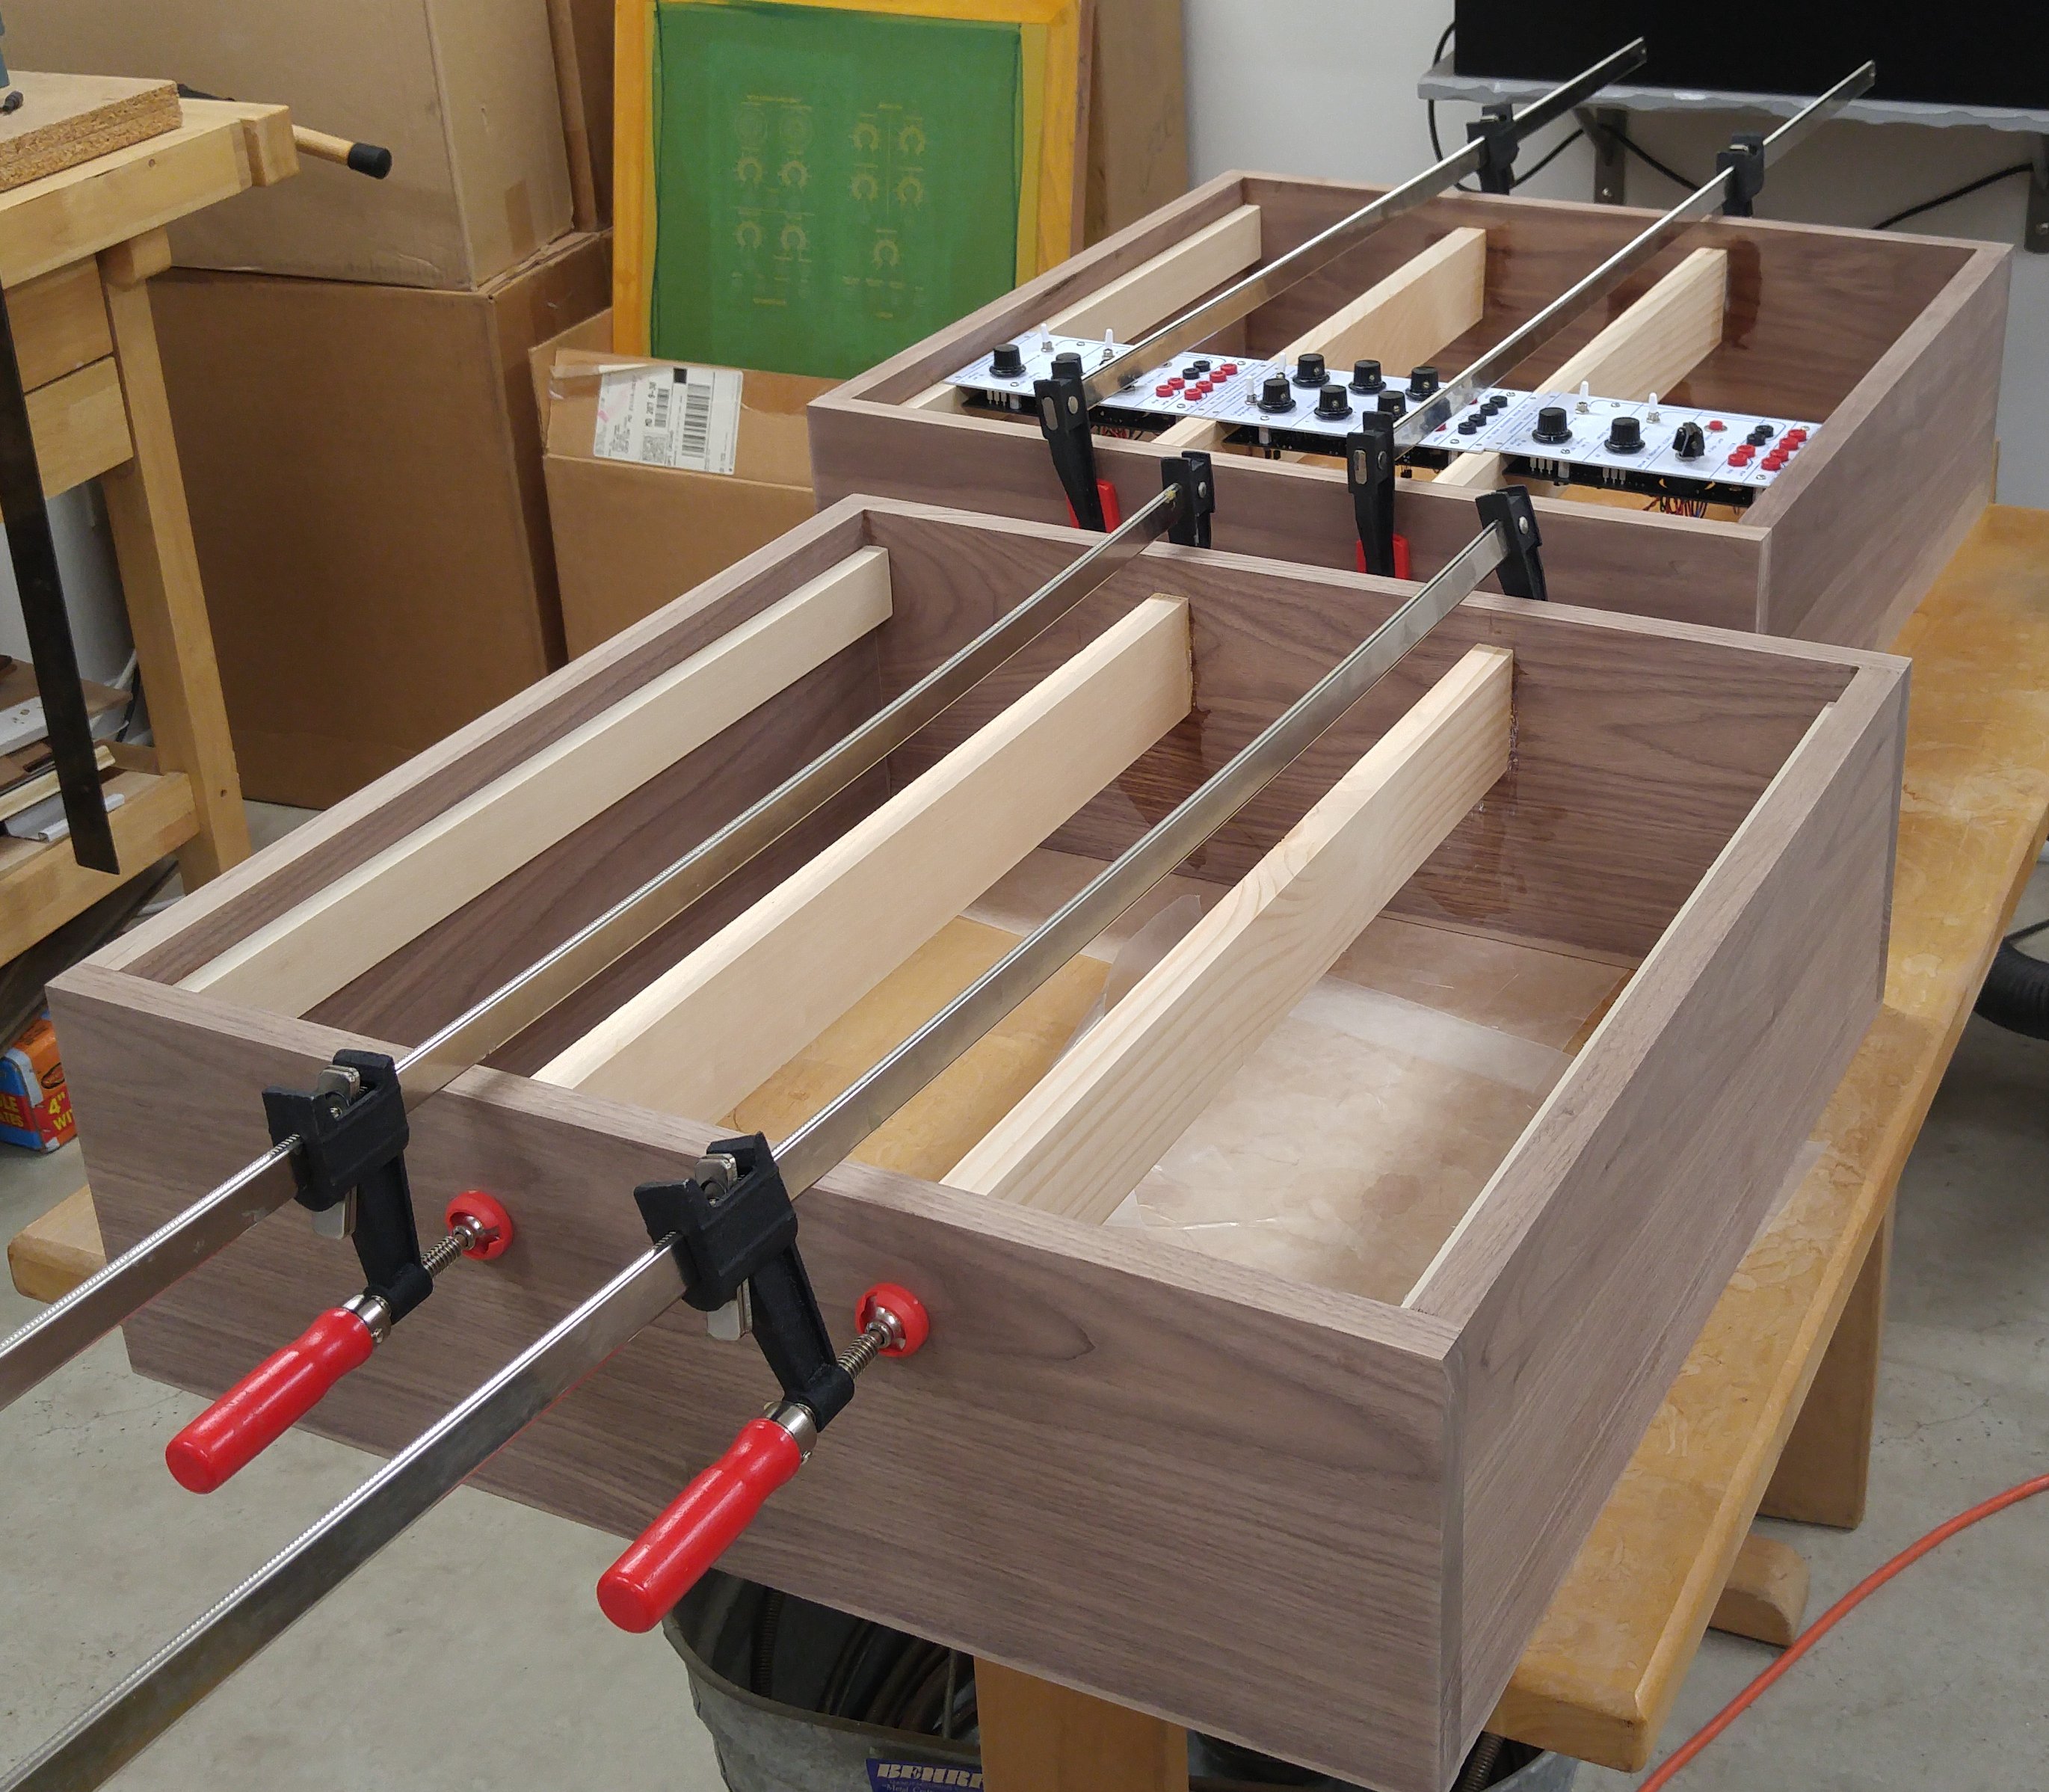
Glueing up the mounting rails. The rails are white pine (middle rails) and poplar (top and bottom). I cut the rails to length at the same time as the top and bottom cabinet pieces, so that they're all exactly the same length. Getting the rails into the cabinets was a little tricky because of the close fit. They were tight enough that I almost didn't need to use clamps. I laid modules on the rails in the top, middle and bottom rows, and slid them back and forth to make sure the 2 middle rails were spaced properly. I Marked their positions carefully, and glued them up.

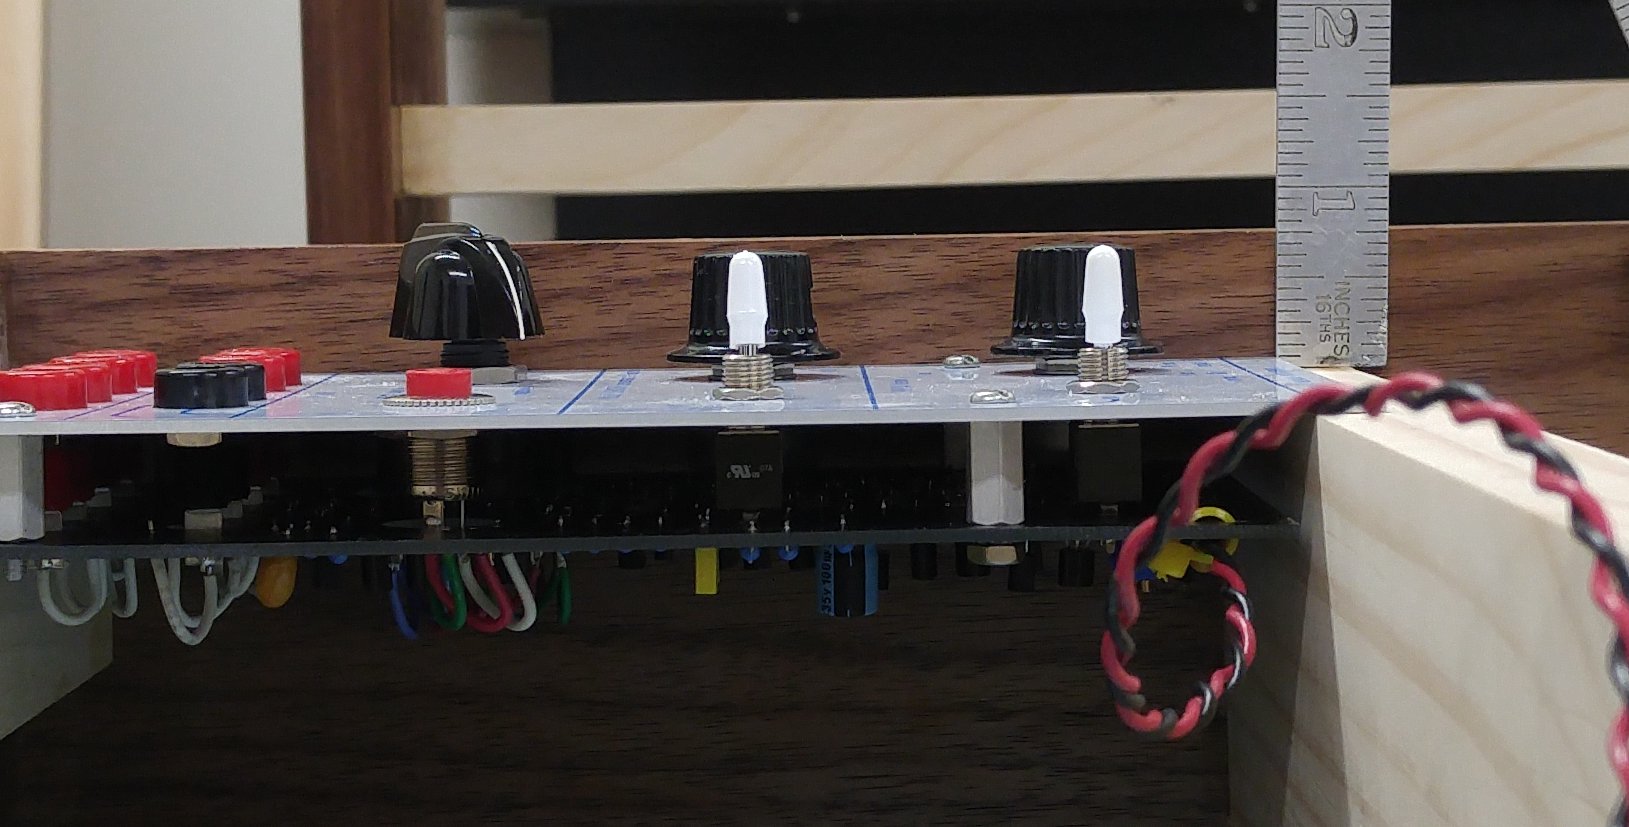
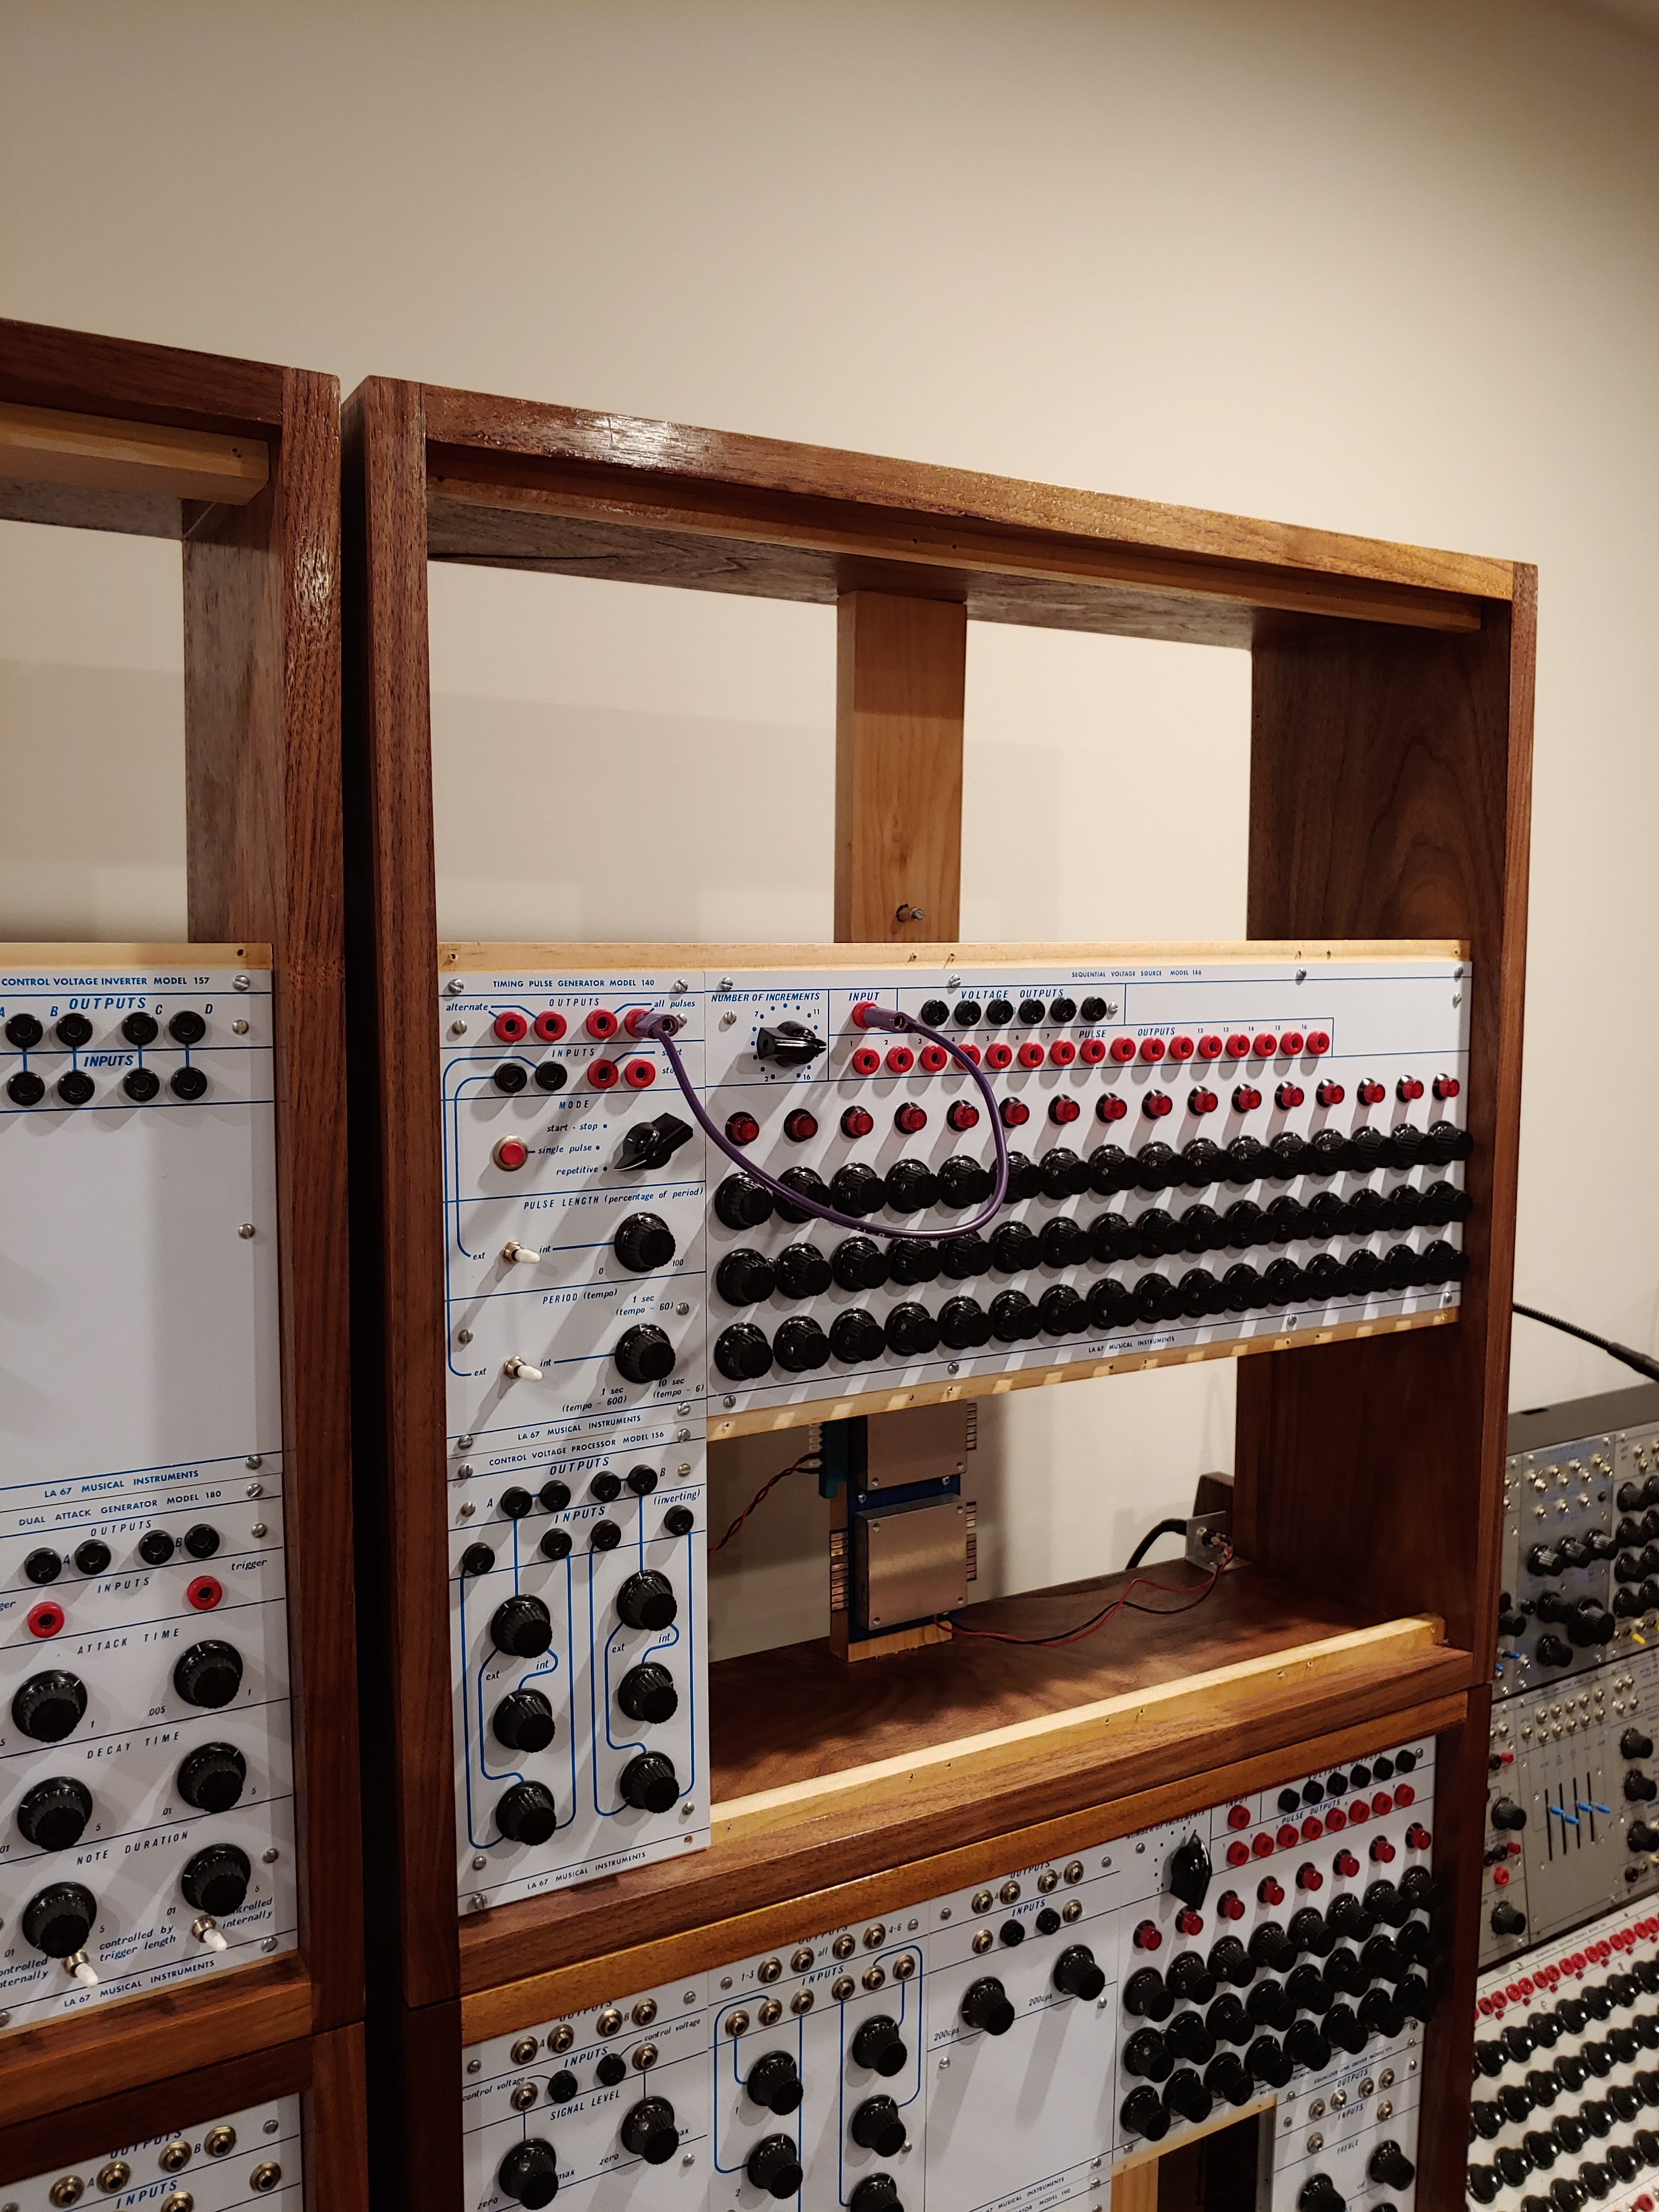
Looking sideways at the setback of the module mounting rails from the front edge of the cabinet. I allowed 3/4", thinking that this would keep all of the knobs from protruding, in case I ever wanted to lay the cabinet face down (and not have the knobs bearing the weight of the cabinet). Turns out that 7/8" or more would have been needed, because of the height of the larger skirted knobs. The chicken-head knob shown here is on a shaft that needs to be trimmed a little, so it's not a problem. Oh well, I've never had the need to lay any other cabinet face down anyway.

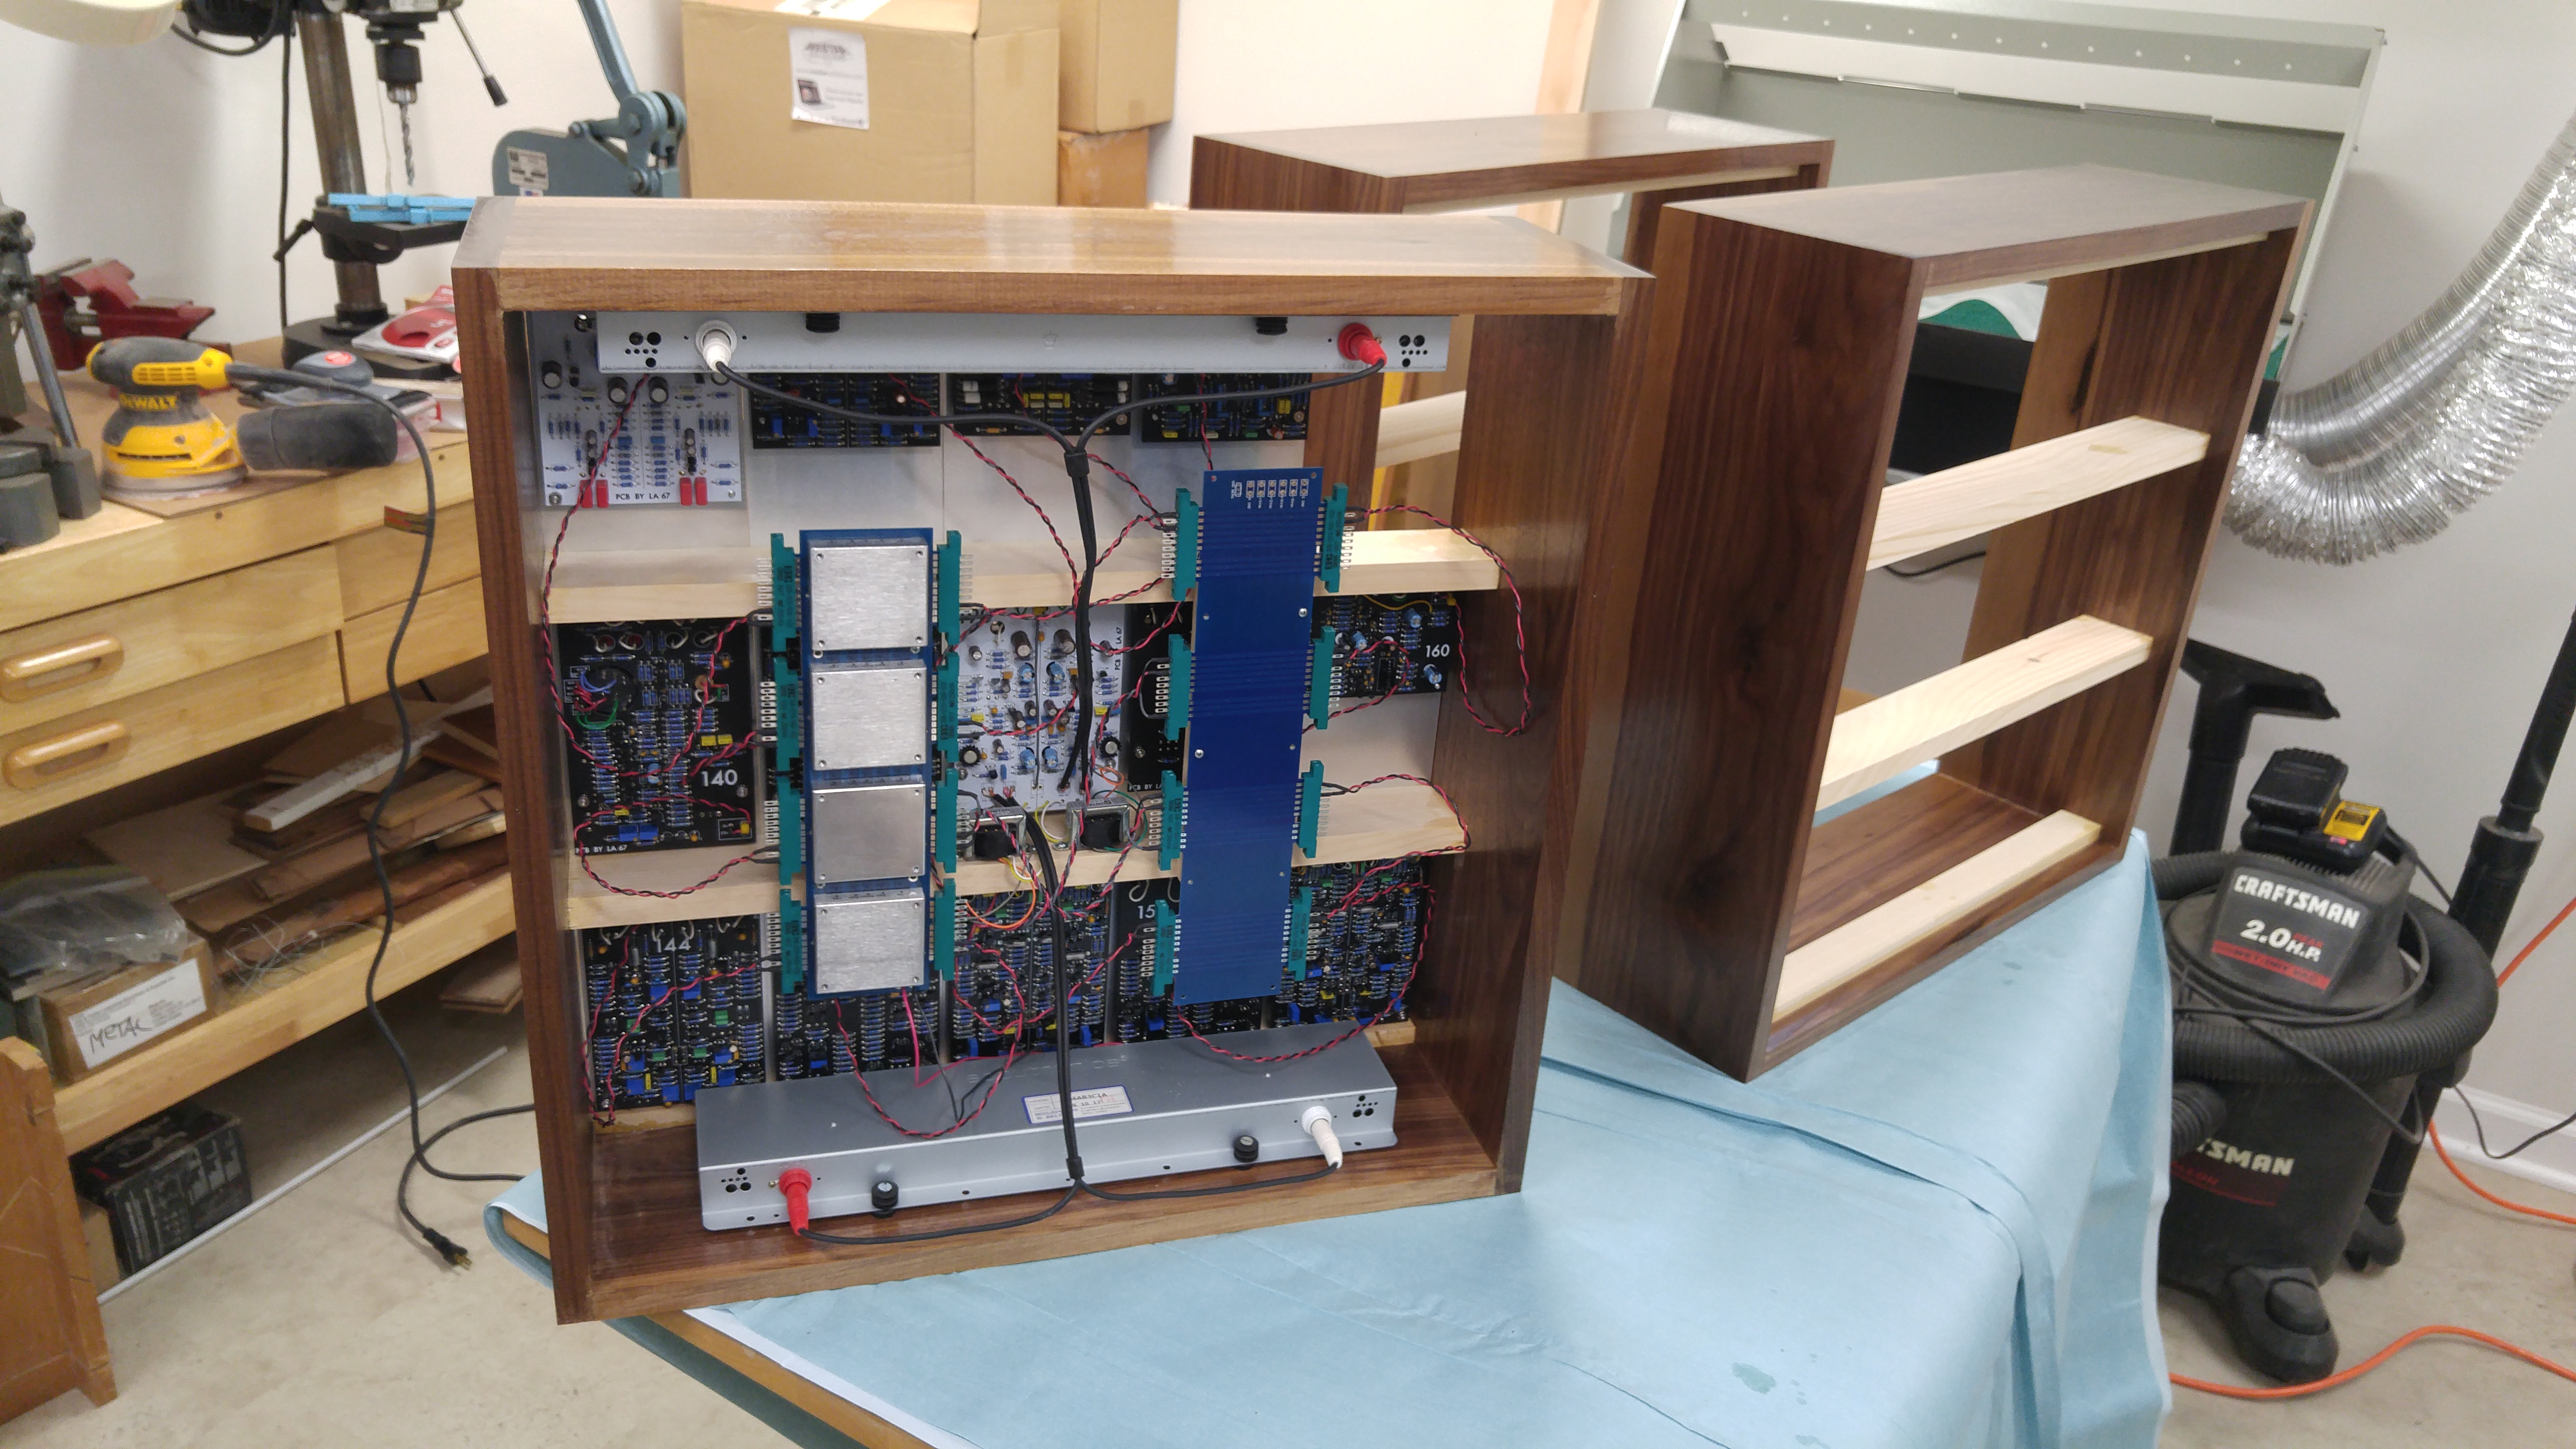
Woodworking is done! 2-3 coats of oil-base Polyeurethane varnish after a LOT of sanding. The 1st cabinet is wired up with a buss board from Boops, with all 4 Cincon DC-DC converters with +/-15, +5, +12 and +24 Volts available. The +24 Volts is on pin 10, which is normally not used in the Buchla world. I didn't worry about the I2C lines, but otherwise any generation of Buchla modules are provided for. The module in the very center is the 190 Reverberation - you can see the 2 transformers mounted on the rail between the buss boards. The tanks are mounted at the top and bottom. I later put a DB15 connector on a bracket at the bottom, to supply all of the voltages via cable to the boats.

THE FOURTH CABINET - DETAILS AND LESSONS LEARNED

(click on the pictures for a larger view)


As time passed, I came to the realization that I was running out of room in the original 3 cabinets and that one more cabinet had to be built. I used the same lumber as before: '1x8' Black Walnut (finished dimensions are actually 3/4" thick and 7 1/4" wide) from Exotic Hardwoods in Annapolis.

I have learned something from using the other cabinets, and since a few people have enquired about details on the construction, I've added a drawing and information on what I did this time.

Buchla single width panels are 7" tall and 4.25" wide. Multiple width panels are multiples (duh) of 4.25". This is true for the 100 and 200 series. A 15 space cabinet that was typical (and that I built) needs to be 21" tall and 21.25" wide on the inside. Using wood (which is dimensionally variable to some extent) I like to leave a little bit of slop, so I did 21 1/8" high by 21 5/16" wide on the inside, or 1/8" extra vertically and 1/16" extra horizontally.

For the dimensions of the wood used for the main part of the cabinet, the top and bottom pieces can be whatever width and thickness you want to use, and the length 21.25" (plus slop). The sides are the same, but with a length of 21" plus twice the thickness of the top/bottom pieces, plus slop. The dimensions in the drawing are for the 3/4" thick wood that I used.

Which brings us to the rails.

In the picture at right, the module (a 156 Control Voltage Processor) is mounted in the bottom row of the new cabinet. Note that the bottom of the PCB just clears the back of the bottom rail. In the old cabinets, the bottom rails were MORE than 1/2" wide, so that I had to use a wood rasp to thin the rails in the back to clear the PCB edges! I couldn't thin the entire rail for this, because the screws holding the panel to the rail wouldn't have enough wood around the screw to avoid splitting.

The inside rails are slotted with a table saw, or with a "V" gouge (chisel), 1/2" from the front edge. I ended up glueing the lower inside rail backwards which I didn't notice until after the glue had set, so I had to use a gouge to make new slots 1/2" from the FRONT rather than the BACK. You can see it at the top of the picture at right.

The picture on the right shows the 3/4" x 2 1/2" pine use for the inside rails, which was ripped in half and notched on my new table saw. 2 passes with slightly overlapping cuts gave a notch ~ twice the blade width, centered at 1/2" from the edge. Be mindlfull of orientation when glueing up, unless you make the rails 1" wide and therefore symetrical. You can make the rails MORE than 1 1/4" wide (up to the depth of the cabinet minus the setback). I should have made mine wider (like they were in the other cabinets) because I found out later that there was nowhere to mount the power buss boards! I ended up having to make a strut from the same pine stock, mounted in the middle between the top and bottom near the back to mount the power buss boards. I'm still learning...

Laying on top are the top and bottom rails, using the same 1/2" thick poplar that I used before, cut into 7/16" strips (also on my new table saw).

Below left is the hand powered mitre saw I've been using for all of my cutting until now. It makes very accurate cuts. I'm using it in the picture because the 10' long board is a bit long to cut on the new table saw (seen in the background). Looks like my next tool purchase will be a chop saw?

Below right shows the top of the cabinet after glueing up. I like to cut the sides ever so slightly longer, and sand them down flush with the top (and bottom). The end grain looks a lot better after finishing this way.

Below left is the new cabinet with its siblings. Note the vertical piece of 3/4" x 2 1/2" pine in the center for the power buss boards.

Below right is the whole mess so far. If you look carefully you will notice that the gap between the left and right cabinets is wider at the bottom than at the top. It's not the cabinets - the cheap table is sagging. I had put some wedges between the table frame and the table top to reduce the sag, but it's still there. Maybe my next woodworking project should be a proper table for my 100 system?


Return to the Buchla 100 Construction page